Chocolate Dobos Torte and the Daring Bakers
August 26th, 2009 | 61 Comments
As much as I like to think that I know everything about pastry, the truth is that I only know a small percentage. The amount of available info is bigger than all the sugar crystals in the world. As we speak, delightfully batty pastry chefs are out there, stirring up shenanigans that I couldn’t even conceive of. Can you imagine desserts from the skins of warm milk? Or “electric ice cream”, whatever that is? I could try to cram in as much learnin’ as possible till my dying day, but it will still be just a fraction of what’s out there. It’s more than any one person can know. Yet this realization won’t stop me from trying. It’s a pastry jungle out there, people, and I intend to hack my way through with a dishwasher-safe machete.
One way to keep from getting complacent is to get a swift kick in the butter once in a while. This is where The Daring Bakers come in. Though they sound like a scrappy motorcycle gang, they are a lovely group of bakers that like to challenge themselves. Each month, a different host chooses a dessert that’s supposed to push us outside our comfort zone and hopefully get us to try something new. Whether we succeed or fail, we learn.
Apparently, they have no mercy. Some of the previous projects were things I’ve never attempted before, like last month’s phyllo dough. That would have definitely given me a run for my money. No further convincing was necessary. I joined the group, and this month is my first foray into the the Daring Bakers’ circle. My inaugural project is the Austrian Dobos Torte. Here is the nitty-gritty:
The August 2009 Daring Bakers’ challenge was hosted by Angela of A Spoonful of Sugar and Lorraine of Not Quite Nigella. They chose the spectacular Dobos Torte based on a recipe from Rick Rodgers’ cookbook Kaffeehaus: Exquisite Desserts from the Classic Cafés of Vienna, Budapest, and Prague.
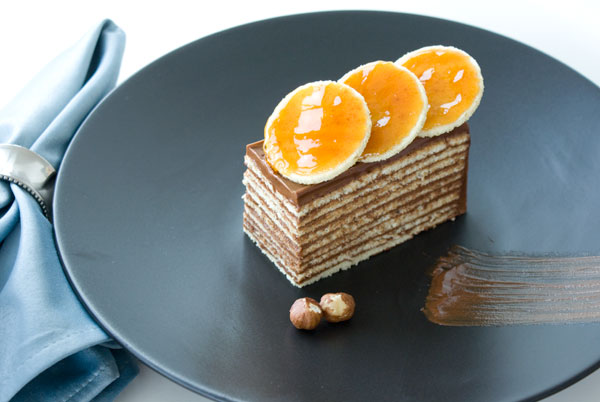
The “rules” of the torte are that it has to have 5 sponge cake layers slathered with chocolate buttercream, then is garnished with more sponge cake wedges that have been drizzled with lemony caramel. Crushed hazelnuts make an appearance on the outside for good measure. You are also supposed to follow the recipe exactly as the hosts have spelled it out on the Daring Bakers Forum, but nooooo, not me. I’m an accidental rebel.
When the hosts mentioned the book that this came from, I gave myself a little high-five because it’s been sitting on my shelf for years. I’ve admired it many times and used it for inspiration, but have never actually made anything from it. I was thrilled to get to finally crack the book’s spine. When it was time to make the dessert, I grabbed the book from the shelf, made the recipe and went on with my merry day. Meanwhile, the forum was filled with woes and photos of wet and melted buttercream. The ladies couldn’t figure out what was ruining their frosting and I was at a loss as to why so many were having problems. I thought the buttercream was the easy part! I should have looked at their recipe more closely because it was a completely different recipe than the one in the book. I made the wrong frosting!
Ahem, whoops. Perhaps the hosts objected to the three sticks of butter(!) in the book’s version? I lost a little sleep over it myself but plowed ahead anyway. Artery sacrifice aside, it was an easy recipe, practically a cheat, because you didn’t have to cook any meringues or yolks or anything at all.
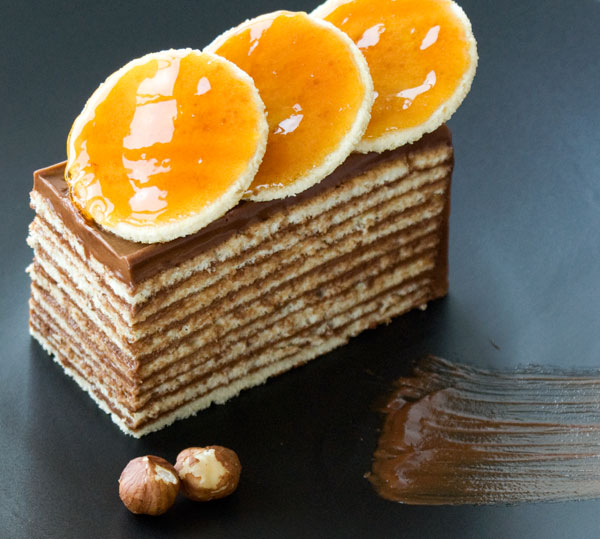
Also, the traditional cake is supposed to be round and each sponge cake circle gets baked INDIVIDUALLY. That’s 5 trips to the oven. H’well. This is all well and good if you are in a professional kitchen with 12 oven shelves, but at home I have a piddly three. I need to get out in the sun and some Vitamin D once in a while! So I spared myself the workout and spread the sponge batter over two sheet pans, then cut them into squares for a rectangular cake. I don’t care whether my cake is round or square. Do you?
For the most part, the cake was absolutely decadent and delicious (thanks, butter!) but it really needed something more. Sponge cakes, by design, don’t have much fat and tend to taste dry. This recipe begged for some sort of flavorful syrup to soak the cake in before adding the frosting. Some others had great suggestions for using a hazelnut liqueur or coffee, something I would definitely do next time. And though it was novel to add mod caramel circles to the top, I didn’t think they added anything to the flavor and would leave them off. The effort was not worth the return.
Making this was a ball and I look forward to next month. Bring it on, ladies! Bring it on.
If you’d like a copy of the book, here it is:
Kaffeehaus: Exquisite Desserts from the Classic Cafés of Vienna, Budapest, and Prague
Dobos Torte
makes one 6″ square cake, serving about 9
adapted from Kaffeehaus by Rick Rodgers
Sponge cake batter:
6 large eggs, at room temperature
1 1/3 cups (150 g) powdered sugar, sifted
1 teaspoon pure vanilla extract
1 cup + 2 tablespoons (130 g) cake flour, sifted
pinch of salt
Chocolate Buttercream:
4 oz bittersweet chocolate, finely chopped
1 1/2 cups (3 sticks) unsalted butter
2 tablespoons cocoa powder, Dutch-processed
1 1/4 cups (125 g) powdered sugar
1 teaspoon vanilla extract
Caramel:
3/4 cup sugar
3 tablespoons water
2 teaspoons fresh lemon juice
hazelnuts for garnish
Let’s make sponge cake:
1. Preheat the oven to 400 degrees F. Grab the stuff:
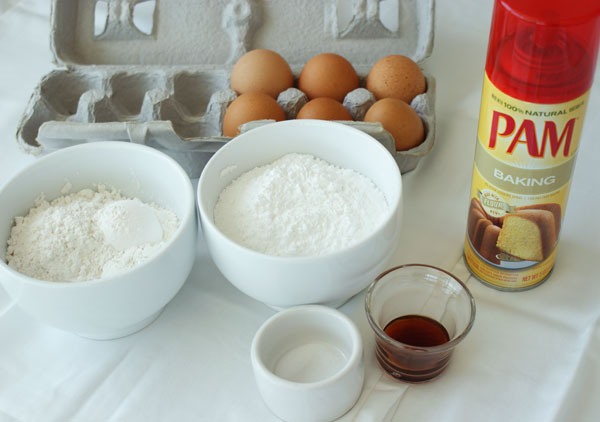
2. Spritz 2 baking sheets with cooking spray, line with parchment paper, then give them a light spritz again.
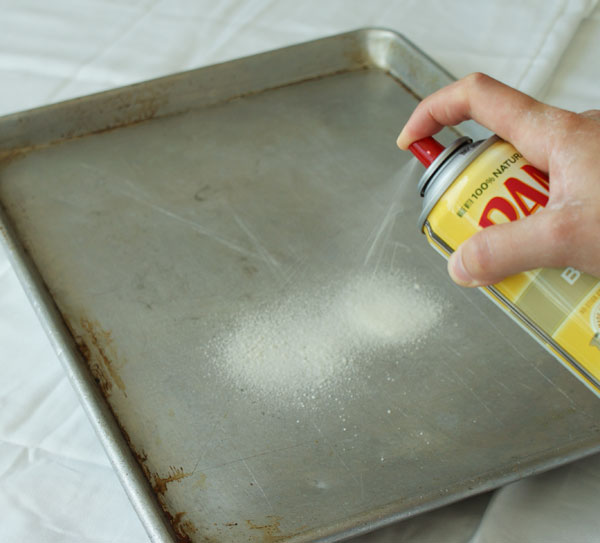
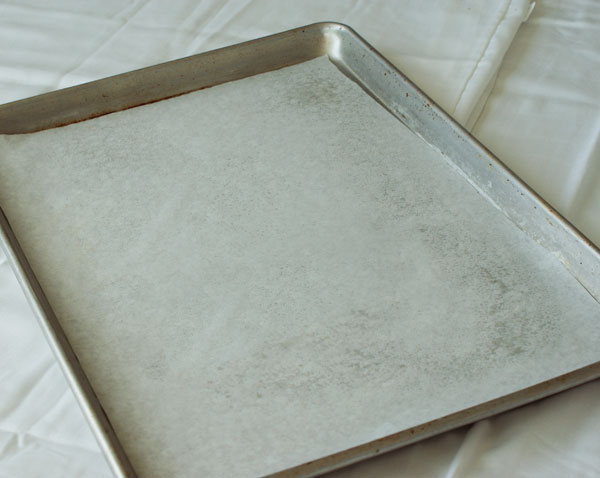
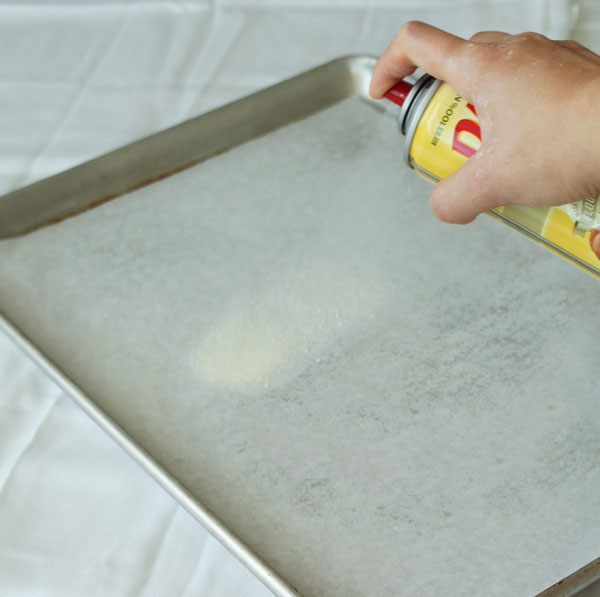
3. Separate your eggs: Crack the whites into a bowl that you can set aside for now (we’ll whip them later), and throw the yolks directly into your whipping bowl. Make sure not to get even a speck of yolk into your whites or they’ll never whip up. If you do (it happened to me), use those contaminated whites for an omelette and crack new whites.
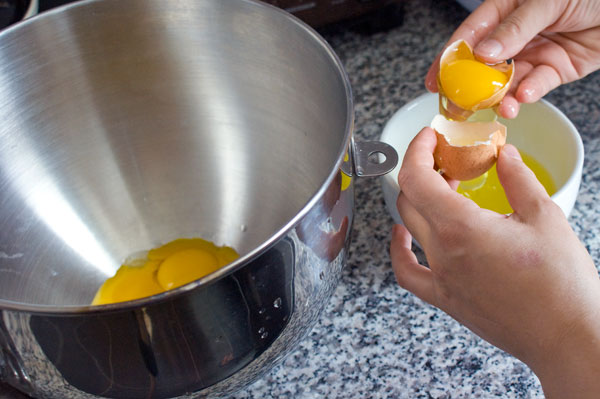
Add in 2/3 cup of the powdered sugar and vanilla.
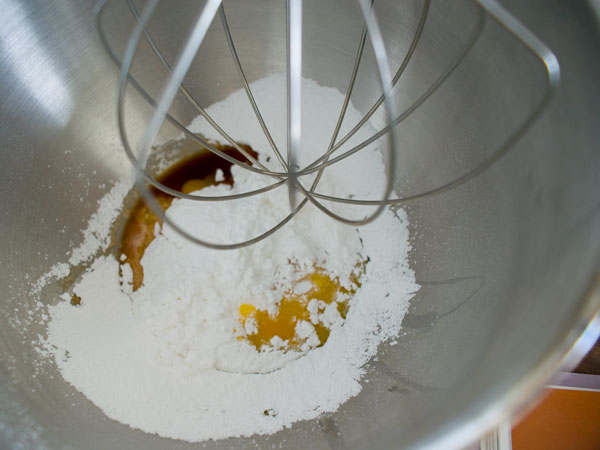
Whip ’em on high speed…
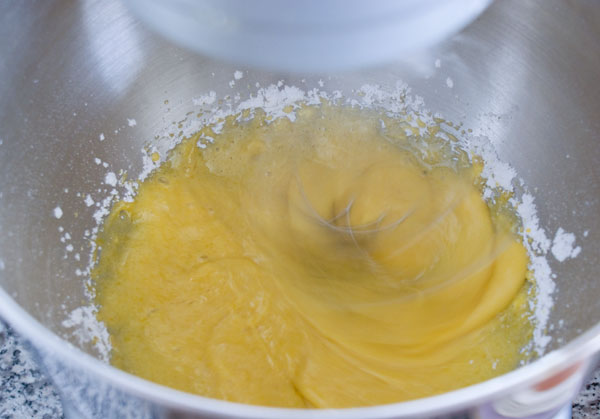
…until pale and thick. You can’t really go wrong here. It’s nearly impossible to overwhip egg yolks. Maybe there would be a problem if you left them whipping and went to work, but otherwise whip away. Mine took about 3 minutes. Ribbons should form when you run the whisk through the mix, like so.
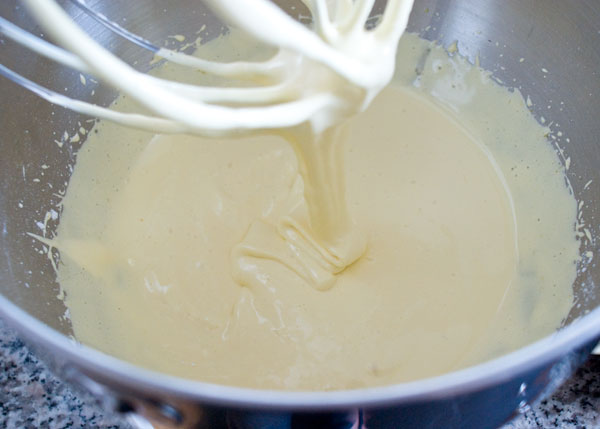
5. Scrape the ribbony yolk into a large bowl (you’ll be folding lots of ingredients in later, so make sure it’s big enough), and leave to the side for later. Now wash the whipping bowl and whisk attachment with hot, soapy water and dry them thoroughly. It’s important to get all the fats from the yolk mix out of there, so the whites will whip up well. Pour the egg whites into the squeaky clean bowl and whip on low-medium speed (something like speed 4). We’re about to make a meringue.
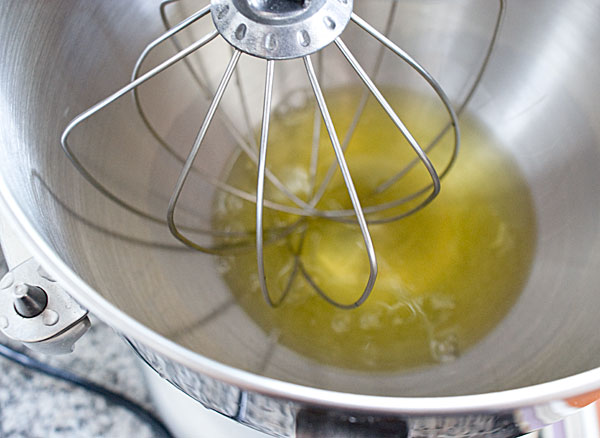
It’s good to get egg whites whipping fairly slowly at first because all the air bubbles you are incorporating will be more evenly sized and give you a more stable meringue. First they get foamy…
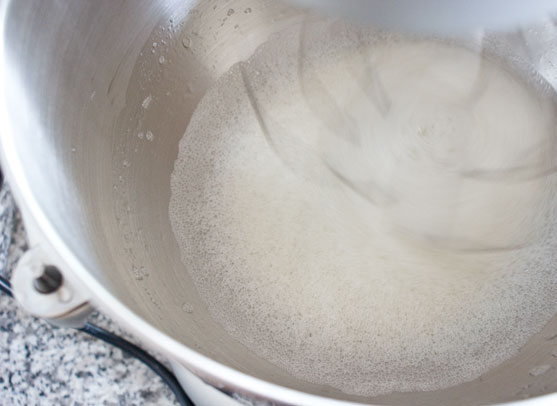
…then they get snowy. This is when you add the rest of the powdered sugar. Just dump it in to the side of the bowl as the whites are whipping. Once the sugar is in, you can increase the speed of the whip to medium-high. (It’s really easy to overwhip egg whites when there is no sugar in the bowl. Sugar in meringue helps stabilize the whites so they don’t overwhip as easily. It’s better to add the sugar a little too early than accidently overwhip your egg whites because they got away from you.)
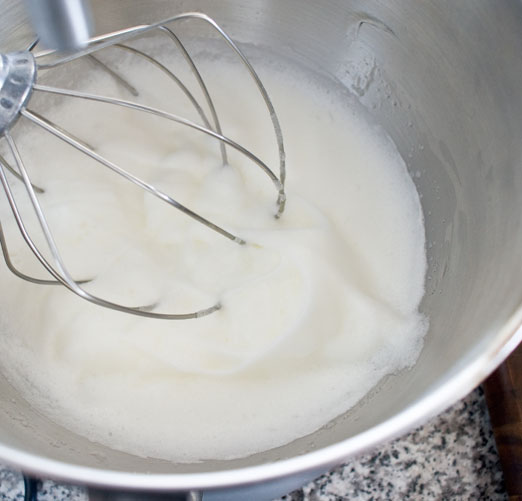
Sugar added.
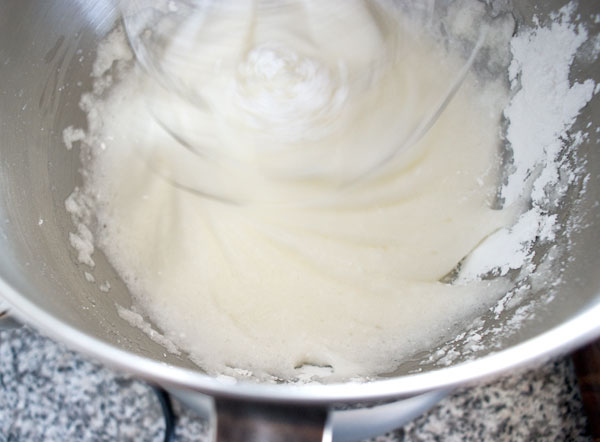
Whip away until you have what looks like shaving cream. I don’t know about you but I think shaving cream looks good enough to eat. The whole meringue-making step took about 6 minutes.
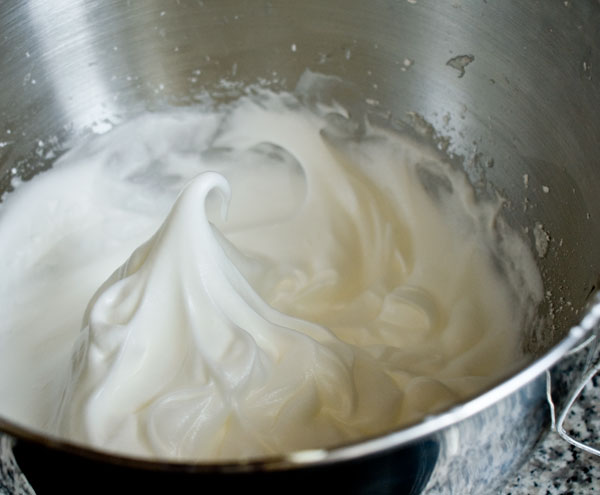
6. Scoop about 1/4 of this meringue into your yolk bowl. Gently fold it in. We’re just trying to lighten that dense yolk mixture a little before adding the rest of the meringue.
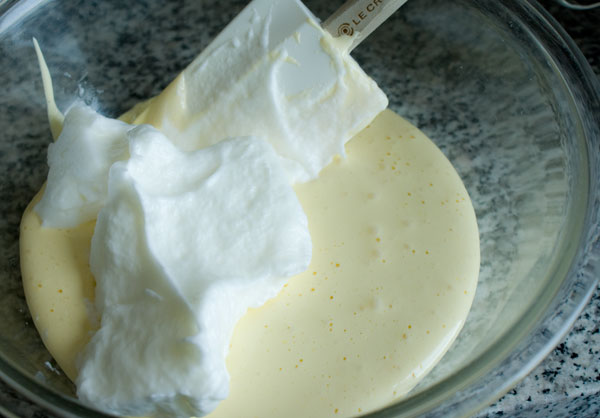
It’s not necessary to get every speck in. Just enough to get it started.
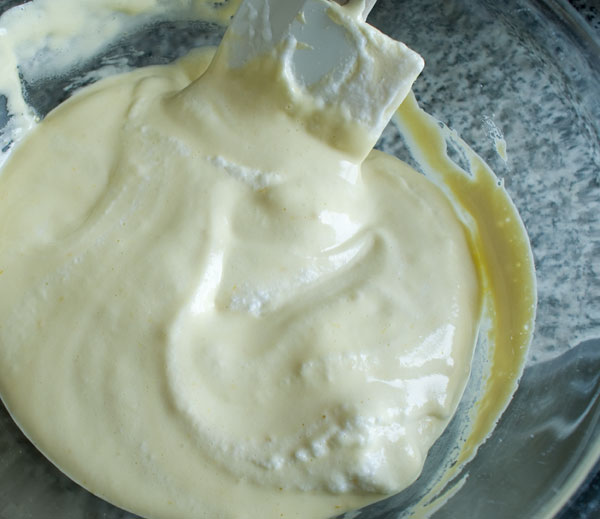
Next, scoop in the rest of the whites, and gently fold those in.
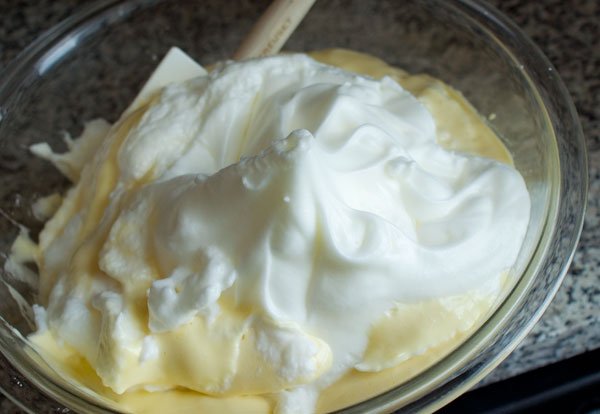
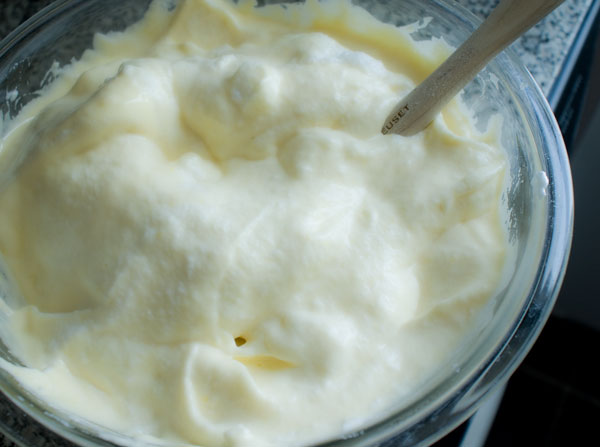
All folded!
Sift together the flour and salt.
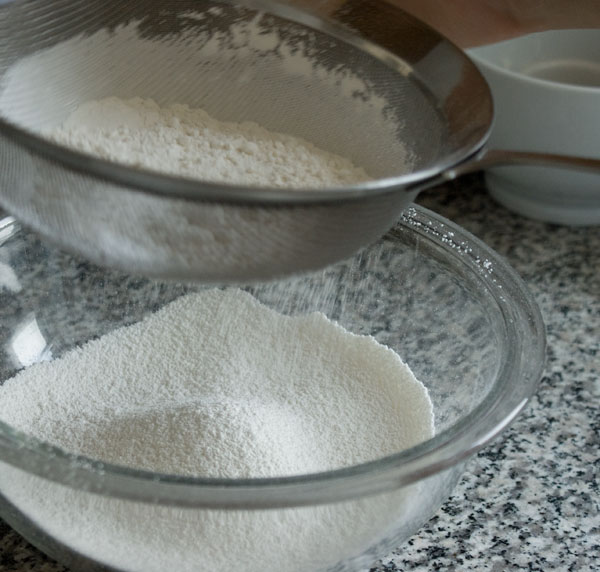
Sprinkle about half of the flour into the egg bowl.
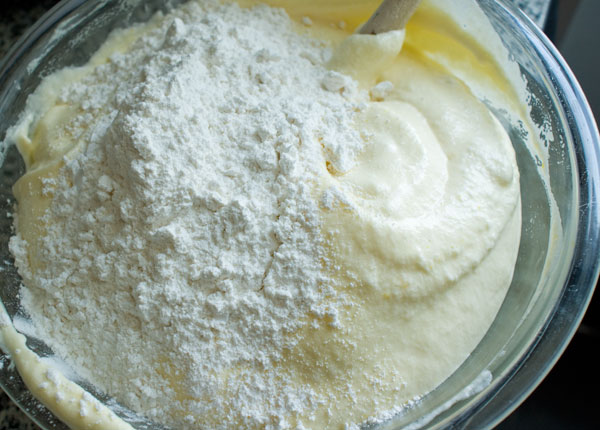
Curses! Why did I pick such a small bowl!? Anyway, gently fold that in.
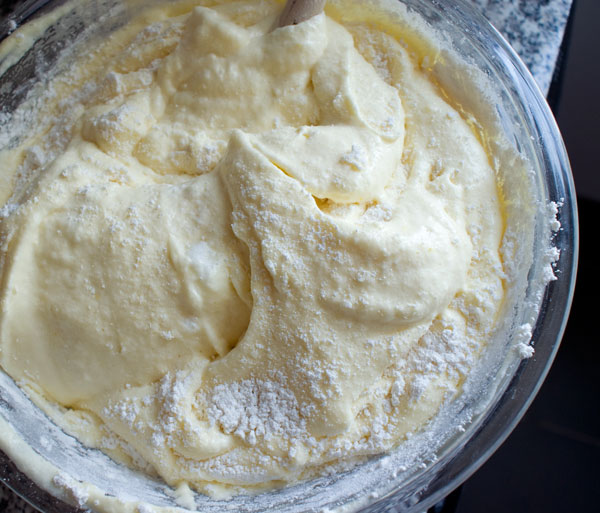
Sprinkle in the rest of that flour and fold like a poker player. Make sure there are no tiny, undissolved flour bits in there. If they bake into the batter you will have some unpleasant chewing to do. Here’s the ready batter.
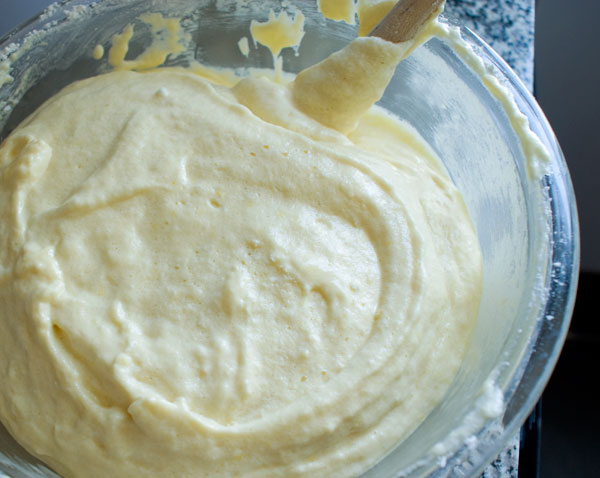
Take a cup measure and divide the the batter evenly between your waiting sheet pans.
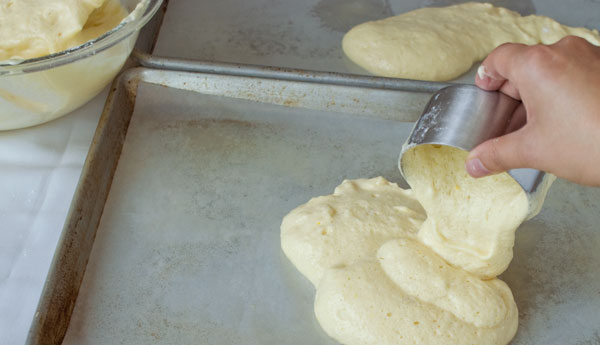
Using an offset spatula, spread the goo around as evenly as possible.
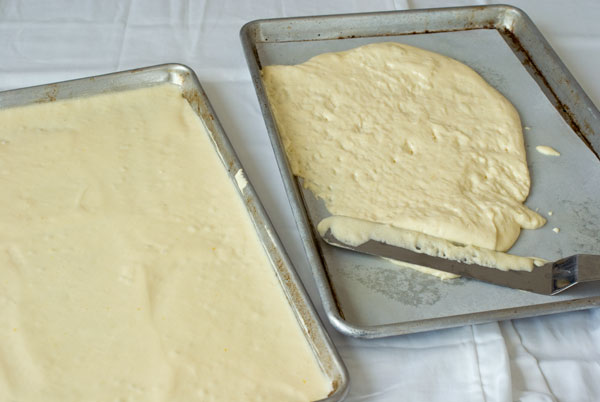
Bake in your preheated 400 degree F oven.
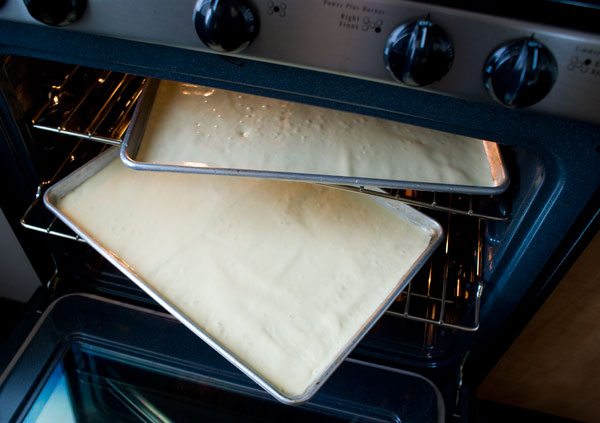
These go fast. Five to seven minutes? I tend to stand in the vicinity and peek at them every minute after they’ve baked for 4 minutes. If you lightly touch the top and the batter sticks to your fingers, it’s not ready. If you touch the top, and it doesn’t stick to your fingers, it’s ready. These just barely begin to get a tan, but just barely. If you happen to leave them in too long, they get crispy, like crackers (see pic below). (If this is your fate, you may be able to still save them. Once they cool, wrap them and put them in the fridge for a few hours. The fridge interior has a lot of moisture, and the cake may absorb enough to get pliable again. If not, then, I’m sorry to say, start again.)
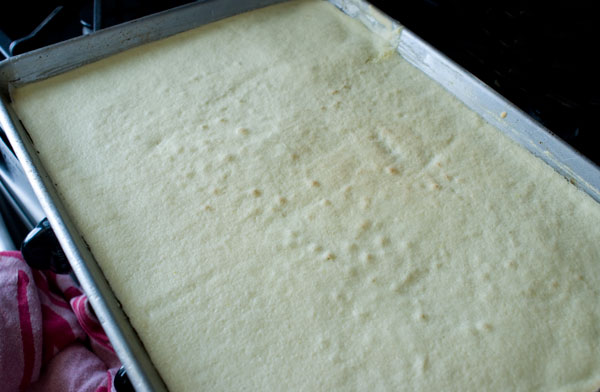
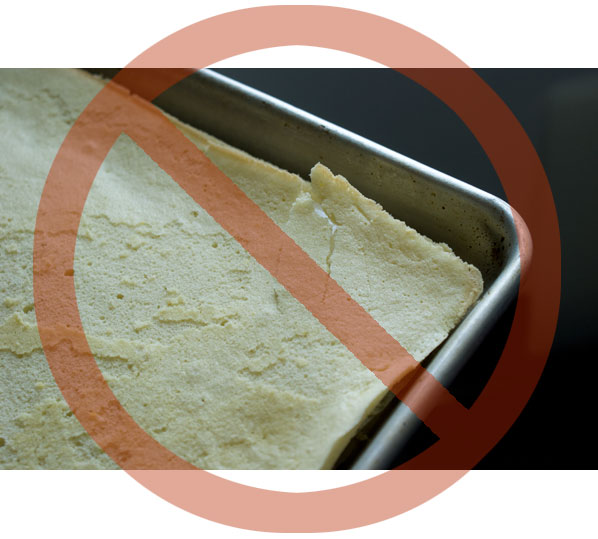
Here is an example of an overbaked cake area. In this case, mine only overbaked in a small section of the corner, so I was able to use the rest of the sheet.
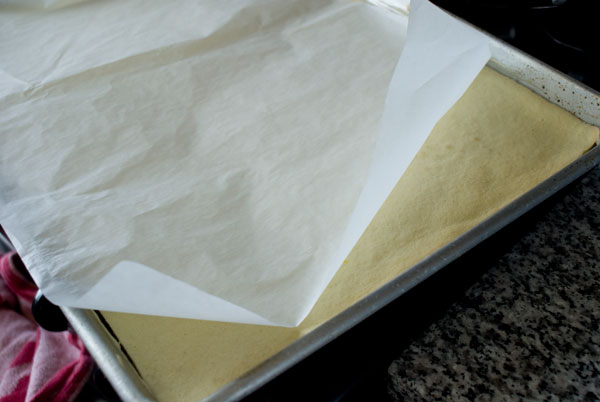
Here’s a “cheat” for getting the layer to be a little more even in thickness. As soon as they come out of the oven, LIGHTLY spray a piece of parchment with non-stick cooking spray and lay it over the cake (spray side touching cake)…
…and lightly press another sheet pan over it.
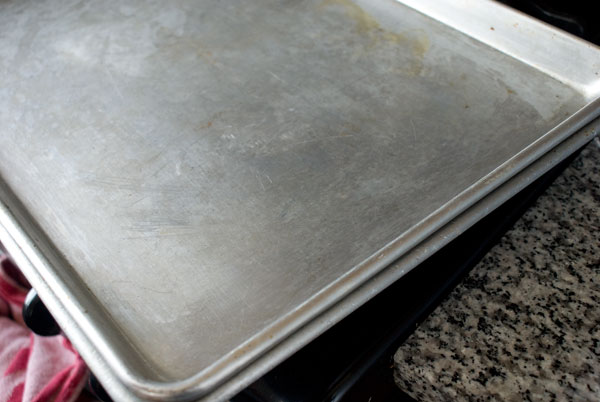
Remove the sheet pan, and peel off parchment. If the top “skin” comes off a little, that’s ok.
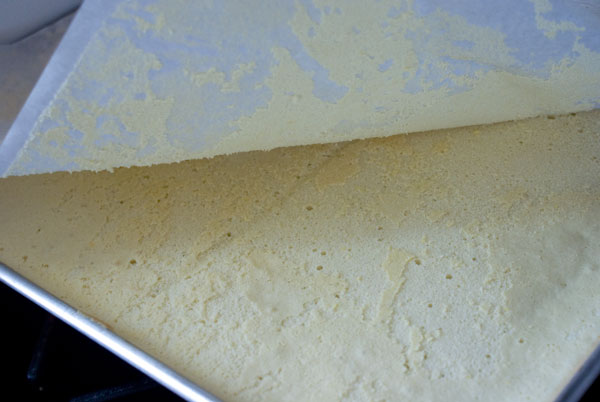
These are so thin that they will likely keep baking from the residual heat of the pan, even out of the oven, so you have to act fast and slide them over to a cool sheet pan or a cooling rack. Run a knife around the edges to loosen them and slide the cake out. Let cool.
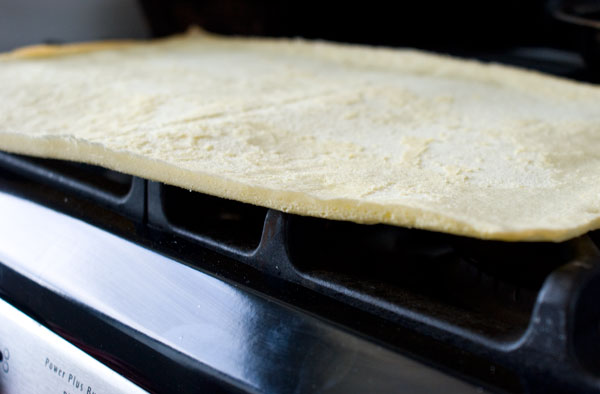
Once cool, you can stack them on top of each other until ready to use.
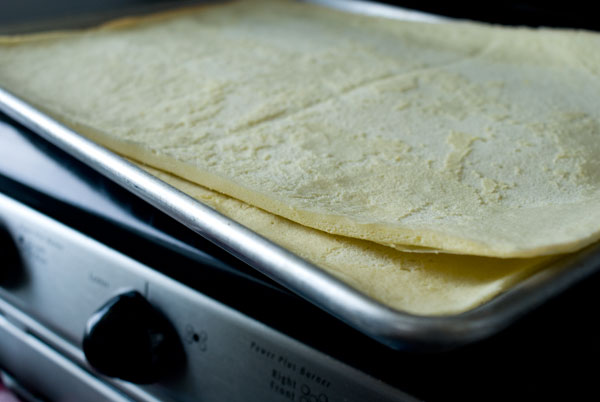
On to the buttercream!
1. Buttercream ingredients.
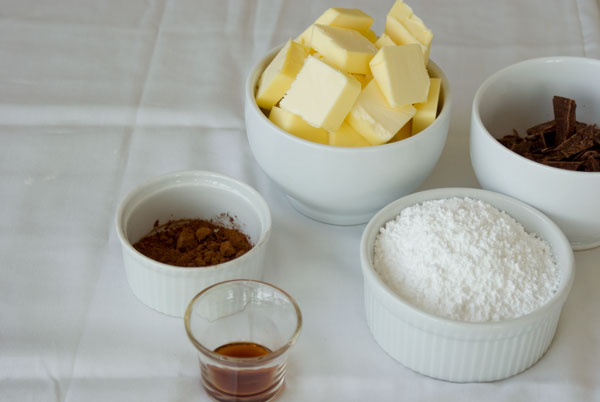
2. Fill a pot with water, bring to a boil, and place a larger bowl filled with the chocolate over it. It will melt gently.
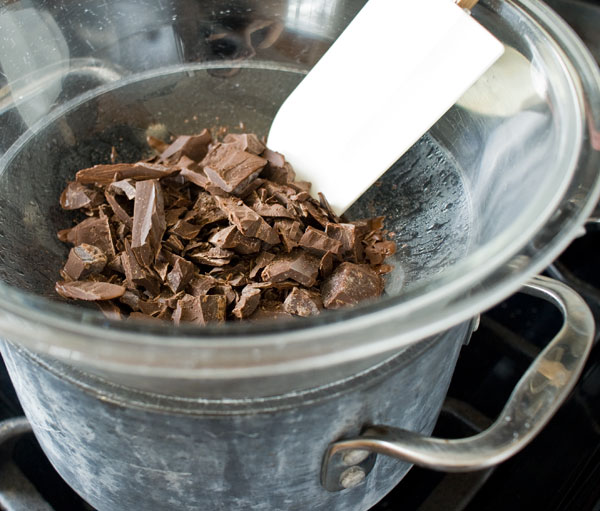
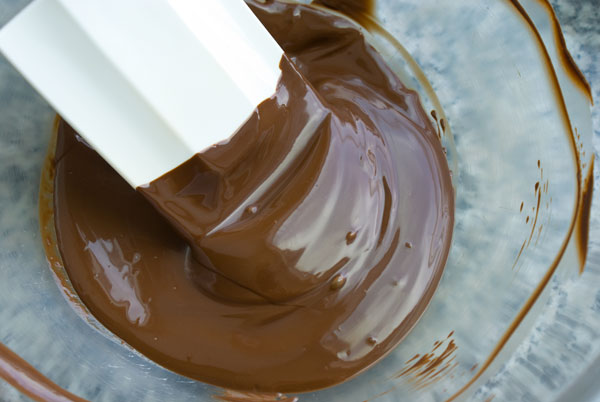
Let the chocolate cool to lukewarm on the side.
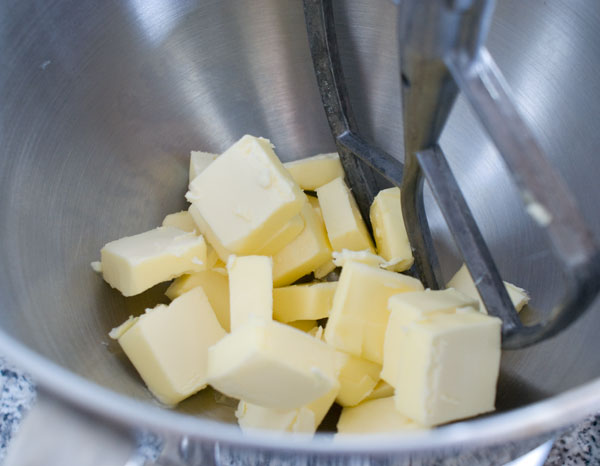
3. Meanwhile, beat the butter until completely smooth.
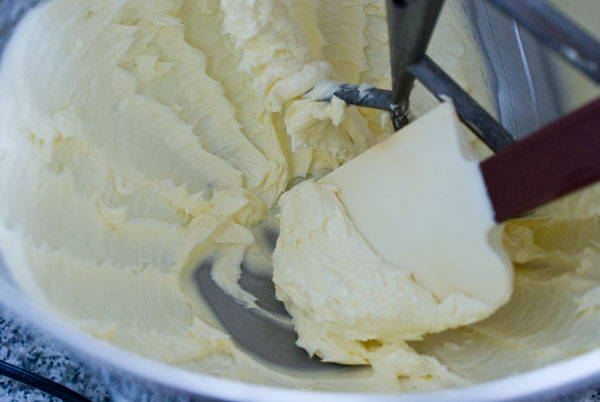
4. Add cocoa powder and beat in.
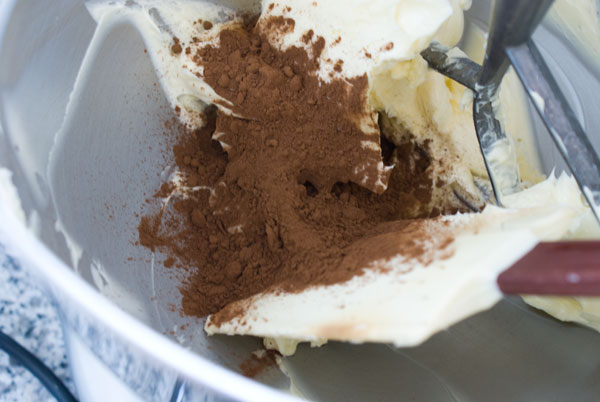
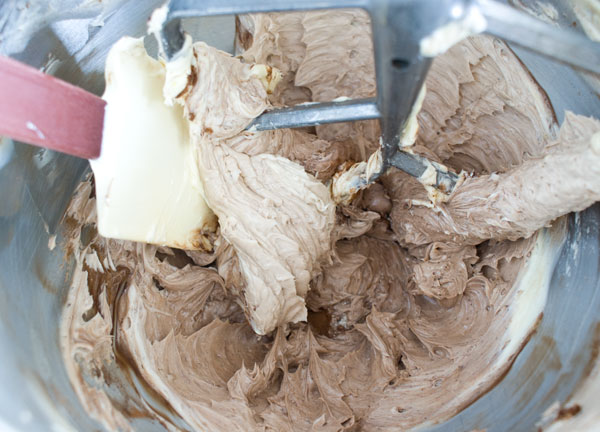
5. Sift the powdered sugar directly over the bowl and beat that in.
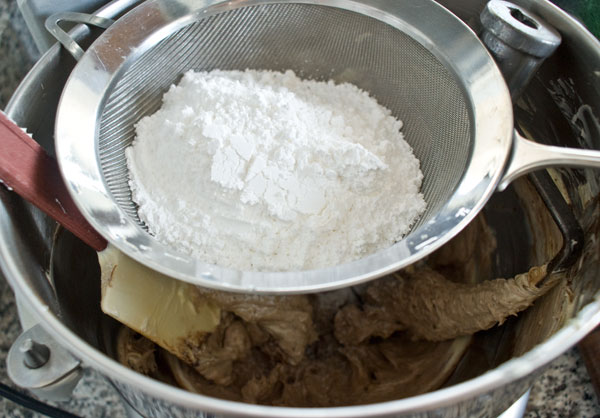
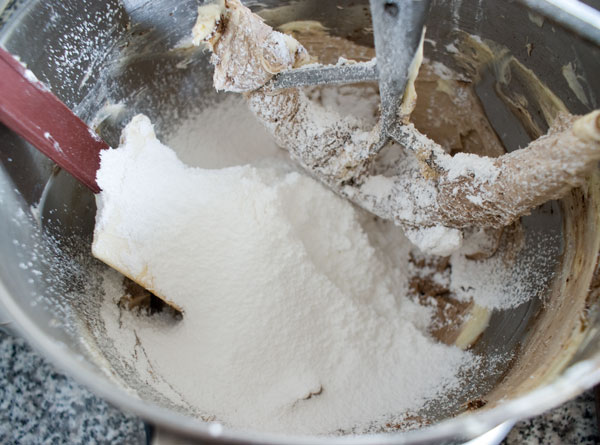
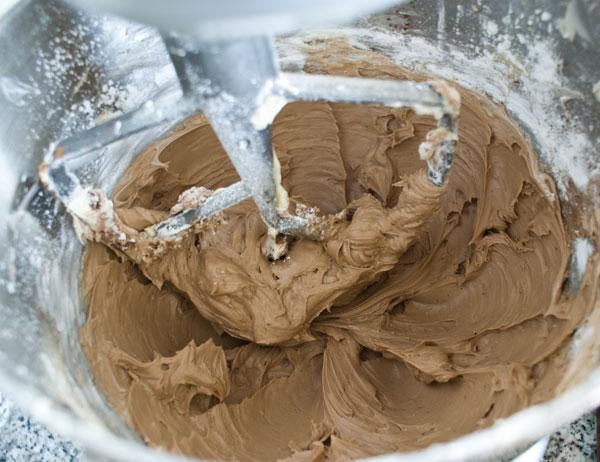
6. Next, in goes the vanilla.
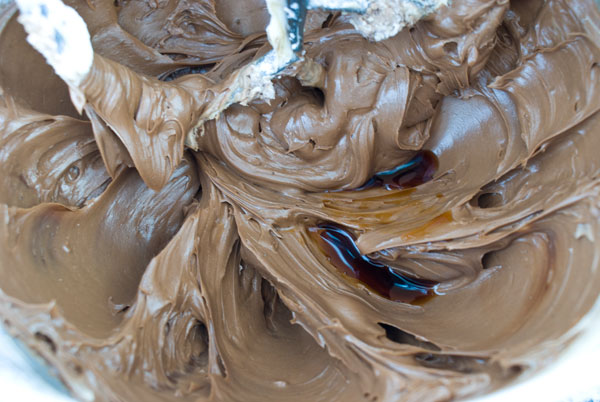
7. And the best for last, ooooooh, chocolate.
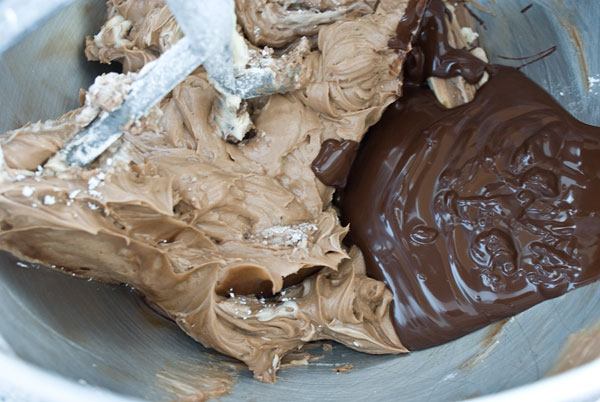
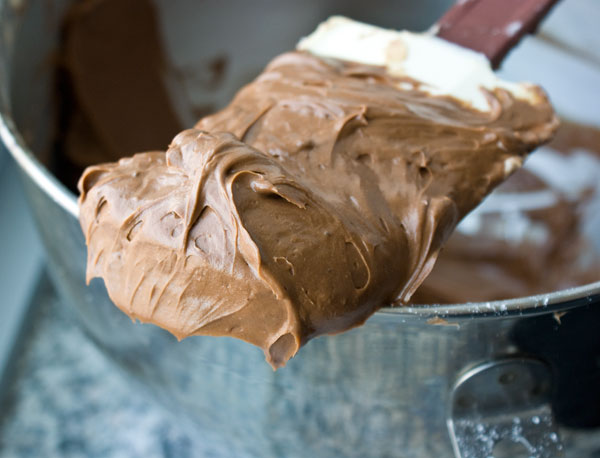
All mixed in.
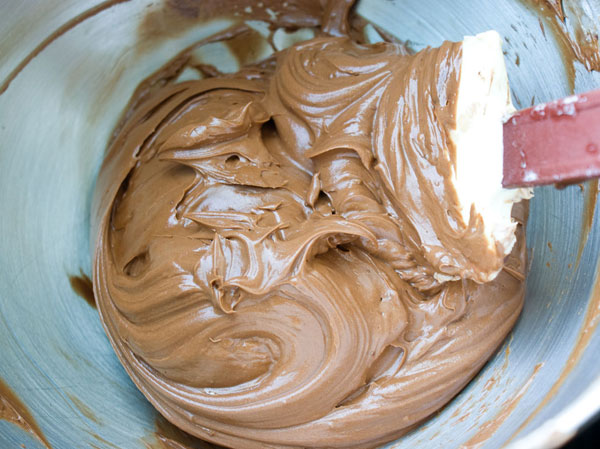
Time to assemble…
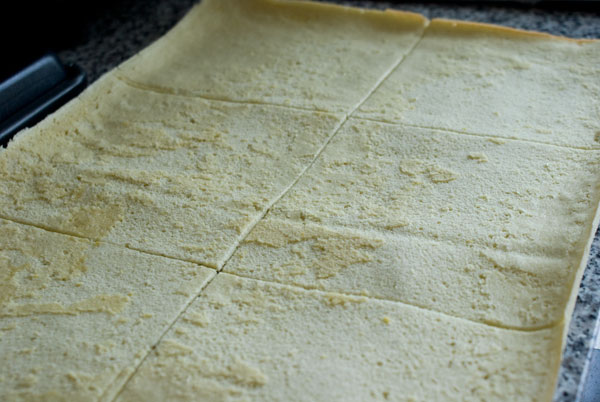
1. Cut the sponge cake into 6 pieces as evenly as possible. Two sheets will give you 12 squares. Set aside a couple of the squares for the caramel garnish.
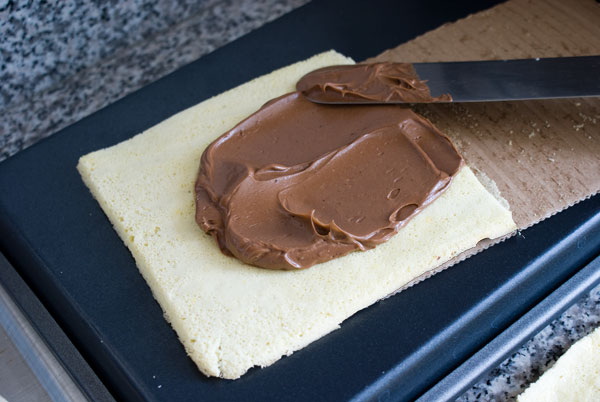
2. Start with any ol’ square and put it on a piece of cardboard. It’s best to use specialty cake cardboard that is slightly smaller than your cake, but I didn’t have any, so I sliced a shape out of the Perrier box I had laying around. Now the funnest part of all: slathering all the layers.
Keep stacking the squares, coating each one with a thin layer of icing.
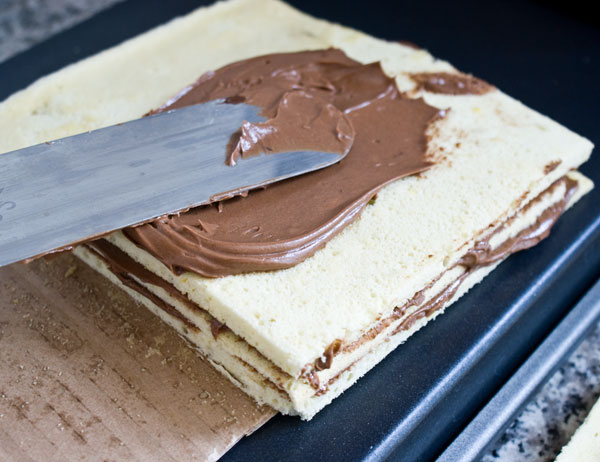
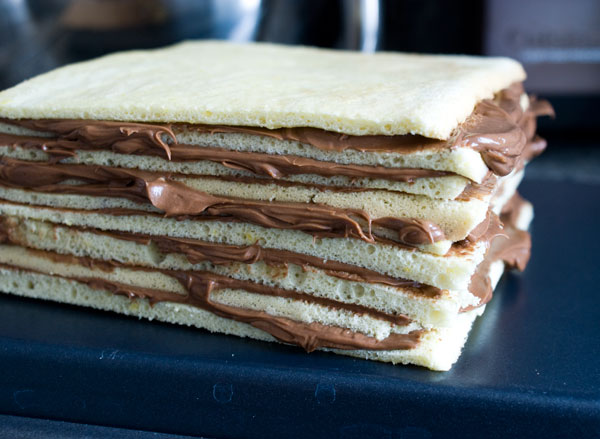
Cut away any visible cardboard if you’re using a piece of ghetto cardboard like me.
3. Then frost the top and sides. In a home setting, I really don’t care how “perfect” it looks, but you can still use each cake frosting opportunity to practice and improve them skillz.
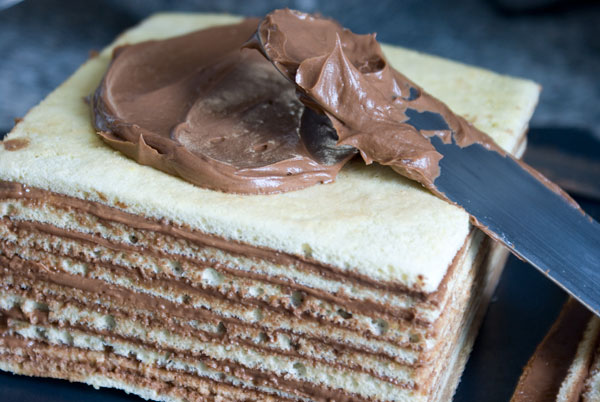
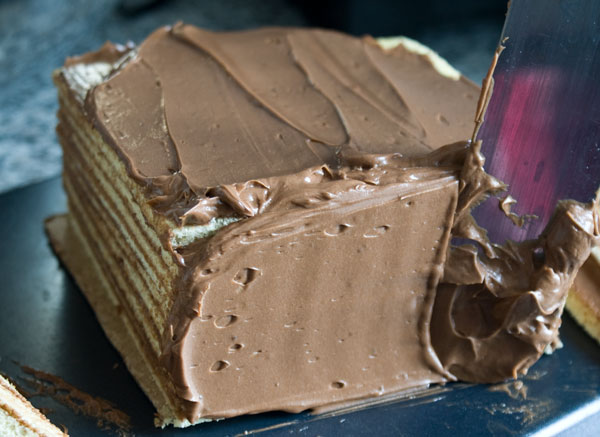
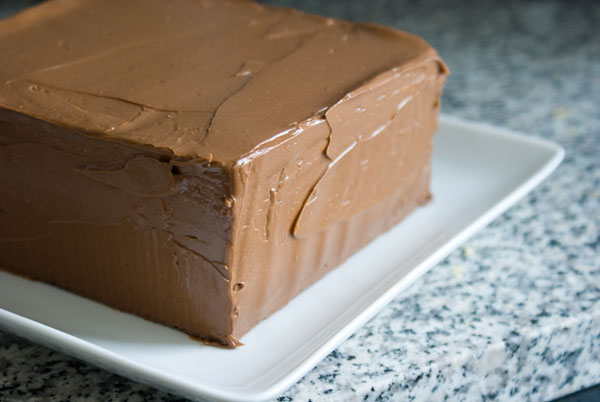
Refrigerate until ready to garnish.
Lastly, the carmel garnishes.
1. Cut some circles out of your sponge. Use a cookie cutter, or shot glass or whatever you have available. All I had was the champagne glass.
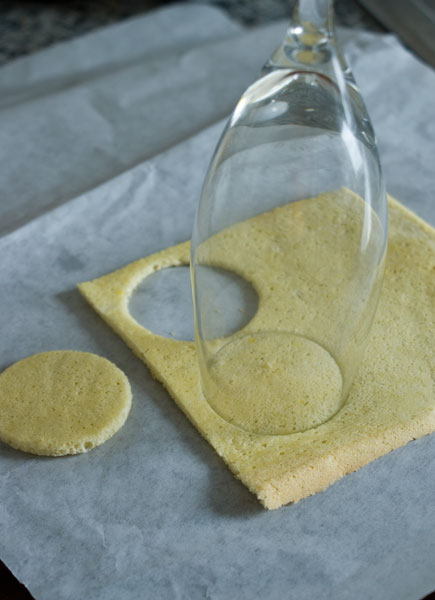
2. Here are the 3 little things.
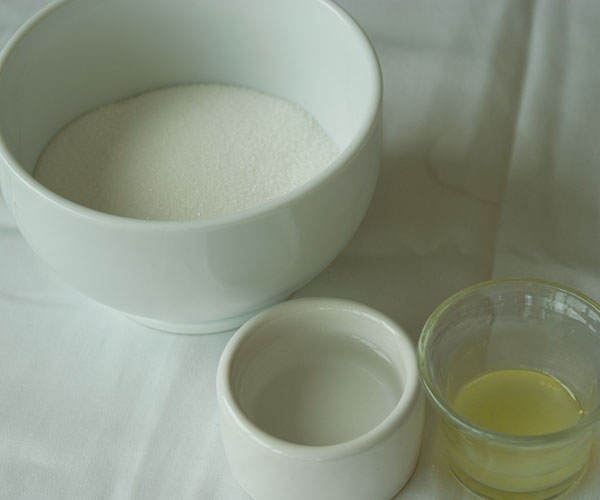
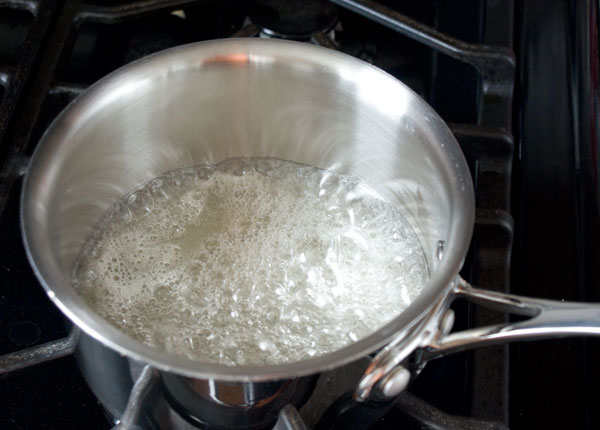
3. This will be a wet caramel. (I much prefer the dry caramel method but the book said to do it this way. With wet caramel, there’s a greater danger of the sugar crystallizing. This could happen if there are foreign particles/specks in your pot which sugar can cling on to.) Pour the sugar, water and lemon juice into a small pot with a light metal finish. You want to be able to see how dark your caramel is getting. Bring to a boil.
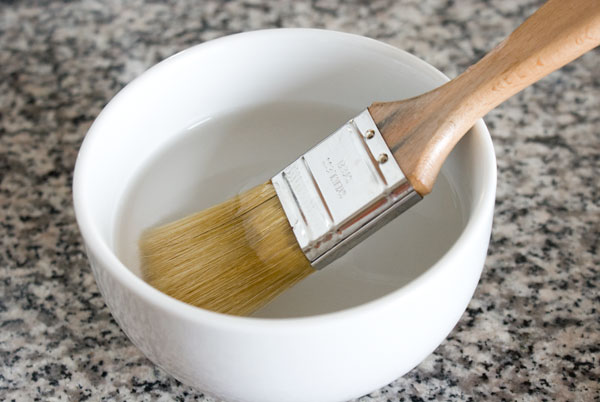
4. In order to prevent crystallization, wash down the sides of your pot with a pastry brush dipped in water.
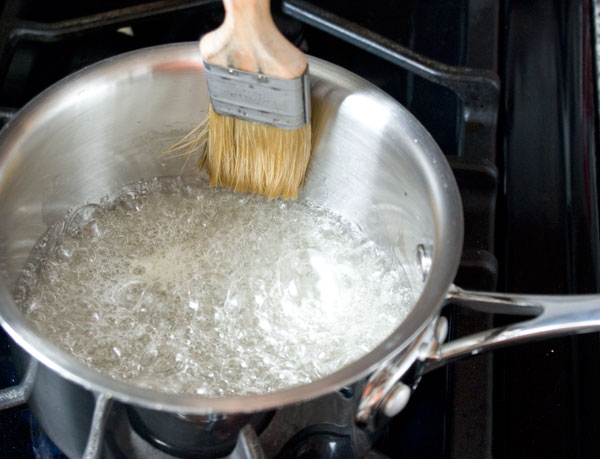
How do you know if your sugar is crystallized? It will no longer be clear. Rather, it will get a grainy, opaque texture, and will start to resemble raw honey. It will look something like this.
Starting to color. Swirl the pan to encourage even caramelization. Never stir!
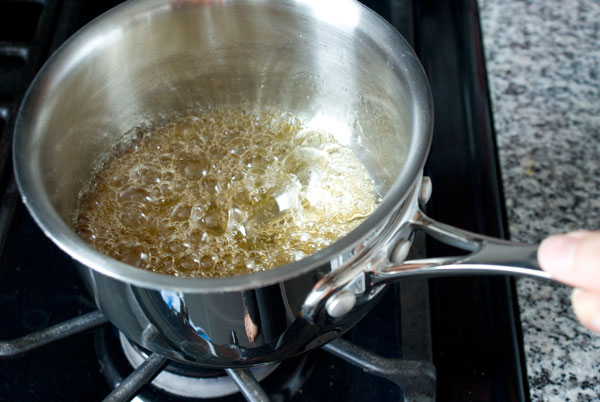
Good enough here. The sugar is on an accelerated darkening streak and will continue to darken even off the heat.
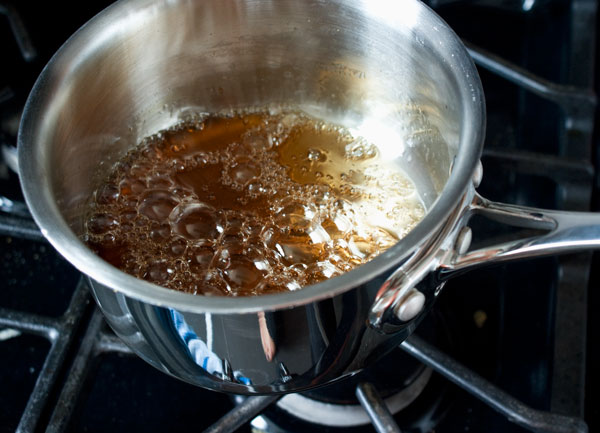
6. Grab a spoon and dollop some caramel onto a sponge cake round. Be very careful with this scalding sugar. No one wants to spend Dobos Day in the ER.
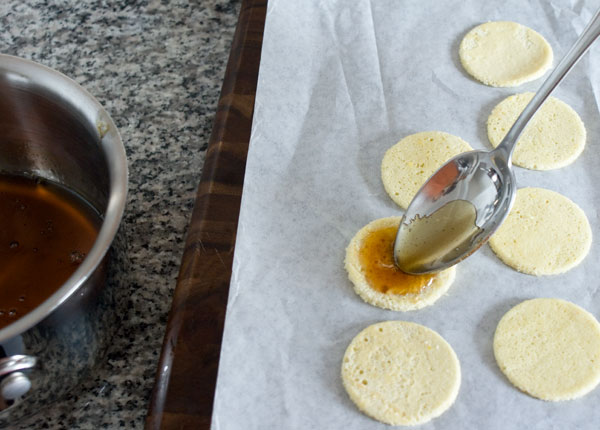
Spread the caramel to the edges with the back of the spoon. (If the sugar starts to get too stiff to work with, you can re-melt it over a low flame, but I had ample time before that happened. Once you’re done you can get rid of the hardened caramel in the pot by filling the pot with water and bringing it to a boil. Everything dissolves.)
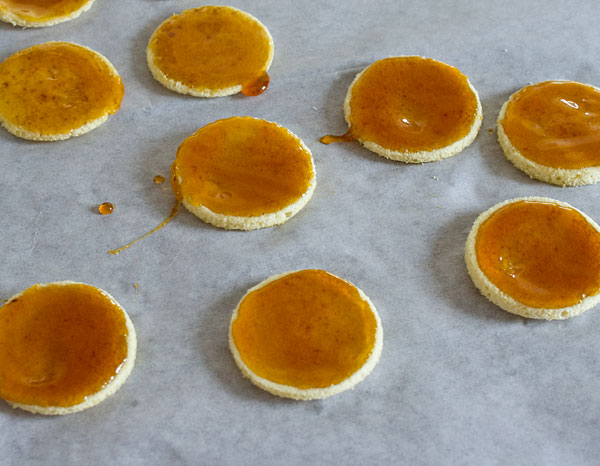
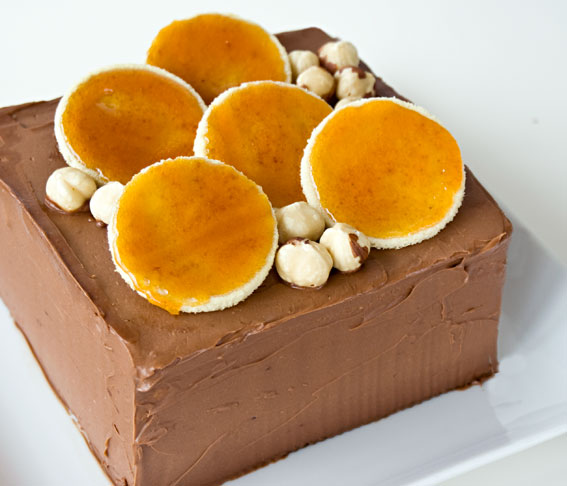
Now assemble the cake. I’ve got the circles propped up with hazelnuts.

Pat yourself on the back. That was a huge undertaking.
Dobos Torte
makes one 6″ square cake, serving about 9
adapted from Kaffeehaus by Rick Rodgers
Sponge cake batter:
6 large eggs, at room temperature, separated
1 1/3 cups (150 g) powdered sugar, sifted
1 teaspoon pure vanilla extract
1 cup + 2 tablespoons (130 g) cake flour, sifted
pinch of salt
Chocolate Buttercream:
4 oz bittersweet chocolate, finely chopped
1 1/2 cups (3 sticks) unsalted butter
2 tablespoons cocoa powder, Dutch-processed
1 1/4 cups (125 g) powdered sugar
1 teaspoon vanilla extract
Caramel:
3/4 cup sugar
3 tablespoons water
2 teaspoons fresh lemon juice
hazelnuts for garnish
First make the sponge cake:
1. Preheat the oven to 400 degrees F. Spray 2 baking pans with nonstick cooking spray, line with parchment paper, and lightly spray them again.
2. Whip yolks and 2/3 cup powdered sugar on medium-high speed until pale and think and form a ribbon.
3. In a clean bowl, with clean beaters, whip the egg whites on medium speed until soft peaks form. As they’re whipping, add the rest of the powdered sugar in a stream and continue whipping until you get stiff, glossy peaks.
4. Fold 1/4 of the whipped whites into the yolks to lighten them, then fold in the rest of the whites.
5. Stir salt into the flour, and gently fold half of the flour into the egg mixture. Fold in the rest of the flour.
6. Divide batter evenly between the two prepared sheetpans and smooth it out with an offset spatula. Batter will be quite thin. Bake in the preheated 400 degree oven until the tops are no longer sticky when touched, about 5 -7 minutes. Let cool completely.
For the buttercream:
1. Melt the chocolate over a double boiler and set aside to cool to lukewarm.
2. Meanwhile beat the butter until very smooth and creamy.
3. Beat in the cocoa powder, then the remaining powdered sugar.
4. Next, stir in the vanilla, and finally pour in the cooled chocolate. (If the chocolate is too warm, it might melt the butter and the buttercream could become soupy. If this happens chill the loose buttercream in the fridge for half an hour until it firms up. Then beat until spreadable.)
To assemble the cake (cake may be assembled up to one day before serving):
1. Cut each sponge cake sheet into 6 squares. If desired, set aside a couple of squares for the caramel garnishes.
2. Place one square on a piece of cake cardboard and coat it with a layer of buttercream. Stack another square on top, then coat with buttercream. Repeat until you have no more cake to stack.
3. Use the remaining buttercream to frost the top and sides of the cake. Refrigerate.
For the caramel garnishes (best made the day they’re served):
1. Cut circles out of the remaining sponge with a cookie cutter or an inverted glass. Have them ready on a sheetpan lined with parchment paper.
2. Boil the sugar, water and lemon juice in a pot with a light metal finish. Wash down the insides of the pot with a pastry brush dipped in water to prevent sugar crystallization.
3. Keep cooking until the edges start to turn golden and swirl the pan to distribute the heat more evenly. Once it’s a deep amber color, remove from the heat.
4. Very carefully spoon the caramel on the prepared sponge cake disks. Using the back of the spoon, spread the caramel to the edge of each circle. Allow the disks to cool and set up, about 15 minutes.
5. Garnish the cake with caramel disks and hazelnuts, either crushed or whole. Dig in!
61 Responses to “Chocolate Dobos Torte and the Daring Bakers”
Post a Comment
Your E-Mail will be kept private. * = required fields.


Irina,
Your blog and website is the most informative and helpful (and includes the recipes….thank you) that I’ve ever found! Your photos are gorgeous, your tips and techniques invaluable, and your a real person!!! You have taken away all the fear and doubt to pave the way for “will try” and “can do”. You have a wonderfully friendly and funny writing style! Love your candidness and non pompous attitude. I look very forward to your macaroon article because my ground almonds are ready to go per your instructions!!
All the best,
Dianne
Dianne — Thank you for such amazing compliments, and I hope to “see” you around here. Good luck with those macarons.
Hi Diane,
The dobos torte is actually Hungarian, not Austrian.
I adore dobos, when you get the buttercream with the right intensity of chocolate it is simply superb. We’ve never had any issues with the cake going dry or stale, but that just may be because we eat it too quickly!!
Your rendition looks lovely!
Well, my 2nd attempt at French macarons was a disaster. Not sure what I’m doing wrong…the batter was runny and when I baked them, they melted into completely flat messes. Tasted great, looked horrible.
You have to understand that I’ve been to Vienna about 10 times, Budapest about 5 times, and aside from some historic sites, it is the bakeries and coffeehouses I visit. I will not walk past them, but go in to look and photograph, get ideas because they are the living museums of the Austro-Hungarian culinary culture. I was inspired by Rick Rodgers’s KAFFEEHAUS: Exquisite Desserts from the Cafes of Vienna, Budapest and Prague (out of print, but available on Amazon , etc.).
I write this message to tell you that your DobosTorta is the most beautiful I have ever seen in ANY of the dozens of cafes I’ve been to. Honestly, this is not just hyperbole. You have about double the layers of a genuine Dobos, but it only looks better. And your wonderful, creative idea to punch out small circles on which to put the caramel is superb. It is quite difficult to cut through the sticky or brittle caramelized layer with a knife, using butter or heating it up – no matter what, the edges look terrible and granular. However, I will follow in your path to make these small circles instead – practical and perfect. By the way, in Austrian bakeries and cafes, you can find rectangular slices of Dobos Torte, but in this way, they are called Dobos Schnitten. Your post is thorough, easy to follow, well-photographed. You do justice and more to Rick Rodgers’ fine cookbook. Thank you, thank you, thank you!
Oh, one more thing. Don’t let KAFFEEHAUS sit and collect dust. It was this cookbook that motivated me to serve only these recipes at a small coffeehouse I co-owned in Vilnius, Lithuania. Ninety per cent of my baked goods come from this book’s collection of those wonderfully rich, traditional recipes of the Austro-Hungarian Empire. You really ought to challenge yourself. The flavors and textures are quite different from French pastry baking, and they win hands down over the latter. I have a ten-day vacation next month and I had to choose: Paris or Vienna. I love both, but the one thing that made it an easy choice was this: Vienna has the best pastries and coffeehouses in my view. Less buttery, carmelly and flakey. More on the chocolate, cinnamon, lemon, hazelnuts and almonds, fruit and whipped cream side.
Franklin — Thank you for your comment. It’s funny you write it now, because I am in Vienna right this very minute, and am sampling all sorts of pastries :)…Sachertorte…strudel…everything is very very good indeed.
I have the Kaffeehaus book, it is one of my most cherised books. I have made the panama torte but not the Dobos one yet, I keep looking at the picture and recipe.
Gorgeous. This has been on my to-do list for awhile; kind of daunting but I think the time is coming 🙂
Kudos
What size are your baking sheets?
When I was small, a Hungarian friend of my parents always brought a doboš torte from New York when she and her husband visited us in DC. It was many layered, like yours, but the layers were definitely flakey. This was in the 1960s…Years later, when I had my first Kit Kat bar, I had a rush of nostalgia (albeit sadly lacking).
I’ve never seen a recipe that calls for flakey pastry layers, rather than sponge cake.
Has anyone ever heard of a bakery in NYC that made such a doboš torte, or even better, a recipe for such a version??