Coffee or Tea? Cannoli, that is.
November 27th, 2009 | 21 Comments
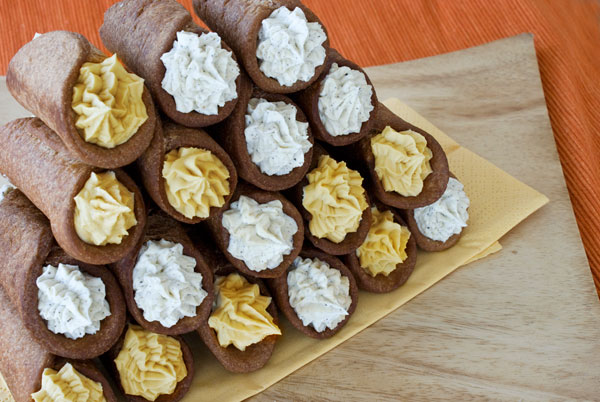
Cannoli, I barely knew ya. Who could blame me? Cannoli haven’t exactly moved gracefully through the years. They’re considered a relic, gone the way of the Italian-American joints with the red-checkered table cloths and sloppy bowls of spaghetti. Into a hibernation, if not a flat-out extintion. Do you know anyone who’s made connoli in the last decade? Me neither.
Like fashion designers and movie makers who look to the past to resurrect trends, chefs pore over old issues of Good Housekeeping to find the gems of yester-year. Today, we’ve woken up floating islands, baked alaskas and peach melbas, ushering them into the 21st century with our own diabolical spins. So why not cannolis? Why have they been left behind?
The examples you see in the occasional bakery don’t exactly inspire the baking Michelangelos in us. They’re greasy, wet and curdled, probably having sat there since the Carter administration. I’m not even sure what a good cannoli should taste like, having never seen a good one, but I do know what I imagine it to taste like. The shell should snap with a delicate crunch when bitten into, making way for a smooth, creamy filling. They should, like peanut butter and jelly, be two contrasting beauties that depend on each other to make everything better.
Color me surprised to even be reflecting on cannoli, especially on this Thanksgiving weekend, but there is one person who still sees potential in this classic. Lisa Michele decided to bring them out of retirement for this month’s Daring Baker’s Challenge. Here’s the filling:
The November 2009 Daring Bakers Challenge was chosen and hosted by Lisa Michele of Parsley, Sage, Desserts and Line Drives. She chose the Italian Pastry, Cannolo (Cannoli is plural), using the cookbooks Lidia’s Italian-American Kitchen by Lidia Matticchio Bastianich and The Sopranos Family Cookbook by Allen Rucker; recipes by Michelle Scicolone, as ingredient/direction guides. She added her own modifications/changes, so the recipe is not 100% verbatim from either book.
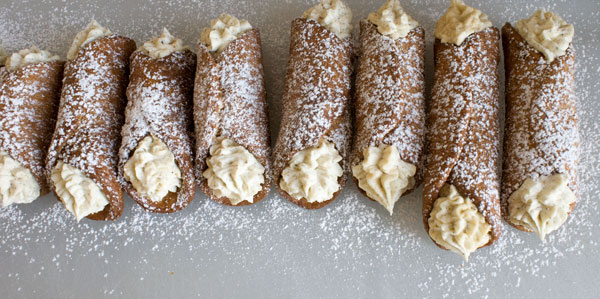
As I read over the recipe, it became clear that the real challenge here was facing the fear of deep-frying. The rest of the recipe is child’s play. The dough takes a few minutes to mix and so does the filling. Though I can understand the apprehension about putting your fleshy and vulnerable self in front of a cauldron of lava-hot oil, I will say that I’ve never seen the oil jump out of the pot all by iteslf. Even when hot-as-all-get-out, it just lays there, still as a stuffed squirrel. Blame the user, not the object. If you approach it with care, it will not hurt you. Just make sure you lower the cannoli into the oil gently so they don’t splash back at you like the fat neighbor kid doing a cannonball into the pool. And make sure they’re secure in your tongs or spoon when removing them so they don’t drop back in. When you are finished frying, turn off the heat and let the oil cool completely in the pot before discarding.
I mostly see cannoli made with sweetened, whipped, ricotta cheese with pistachios, chocolate chips, and candied fruit stirred in, but I prefer the sinful smoothness of mascarpone. Once you sweeten your cheese, you can fold in whatever you like, and in this batch I tried coffee and chai tea flavors, the customary proposition at the end of dinner. If you feel like you’ve got energy to spare, try your hand at making your own ricotta or mascarpone as described by Vera.
Perhaps the fact that all of the Daring Bakers have made cannoli at the same time will spark a movement not seen since days of The Macarena.
[The print button will be up tomorrow.]
Cannoli
makes about 15
For the shells:
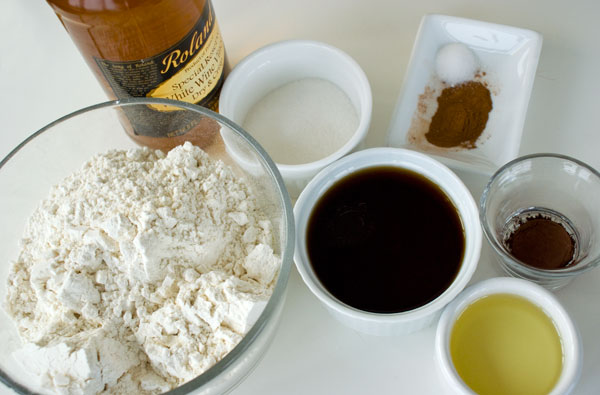
2 cups (250 grams/8.82 ounces) all-purpose flour
2 tablespoons(28 grams/1 ounce) sugar
1 teaspoon (5 grams/0.06 ounces) unsweetened baking cocoa powder
1/2 teaspoon (1.15 grams/0.04 ounces) ground cinnamon
1/2 teaspoon (approx. 3 grams/0.11 ounces) salt
3 tablespoons (42 grams/1.5 ounces) vegetable or olive oil
1 teaspoon (5 grams/0.18 ounces) white wine vinegar
Approximately 1/2 cup (approx. 59 grams/approx. 4 fluid ounces/approx. 125 ml) sweet Marsala or any white or red wine you have on hand
For the frying:
cannoli molds
1 egg white
vegetable or any neutral oil for frying – about 2 quarts (8 cups/approx. 2 litres)
For the coffee filling:
(makes enough filling for about 10 cannoli. If you want only coffee filling, double the recipe)
1 cup mascarpone
1/4 cup (or to your taste) granulated sugar
1 – 2 tablespoons coffee extract (start with one tablespoon and if the flavor of the filling is too subtle add the other tablespoon)
For the chai filling:
(makes enough filling for about 10 cannoli. If you want only chai filling, double the recipe)
1 cup mascarpone
1/4 cup (or to your taste) granulated sugar
1 – 2 tablespoons chai tea (start with one tablespoon and if the flavor of the filling is too subtle add the other tablespoon)
1. Our cannoli players for the shells:
2. Into the bowl of a food processor (or you can do this by hand) go the flour, sugar, cocoa powder, cinnamon and salt.
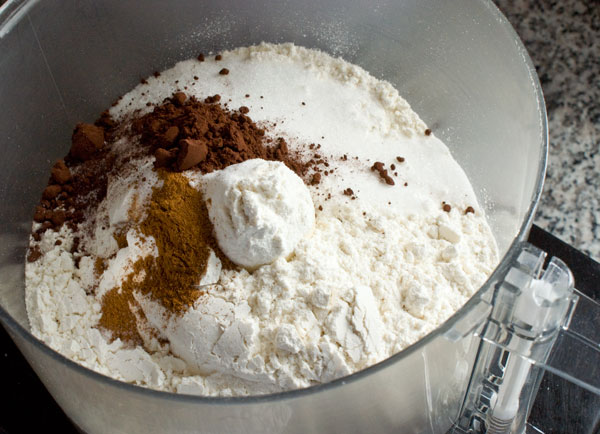
Give it a whirr to combine.
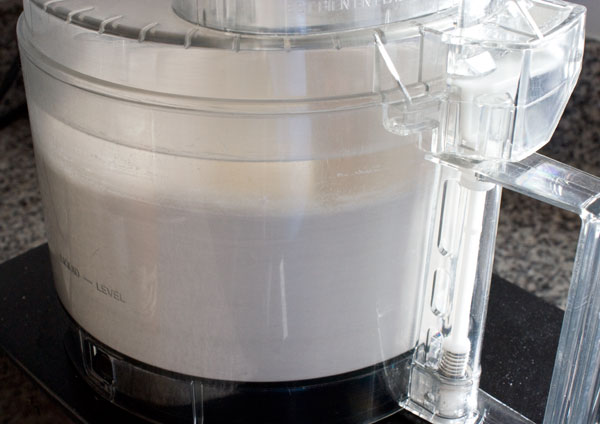
3. In a small bowl, stir up the marsala, oil and vinegar, (Sounds like salad dressing?) and pour them into the food processor while it’s running.
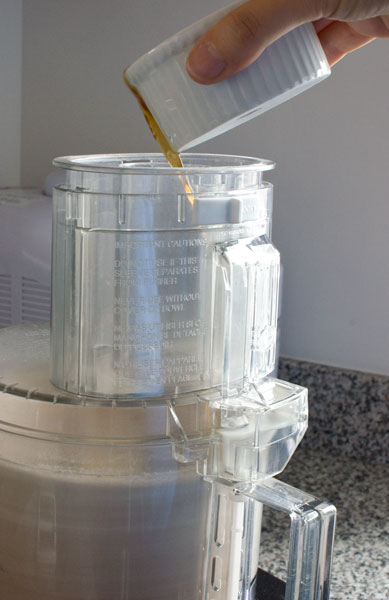
In a few seconds it should all moisten and start to come together.
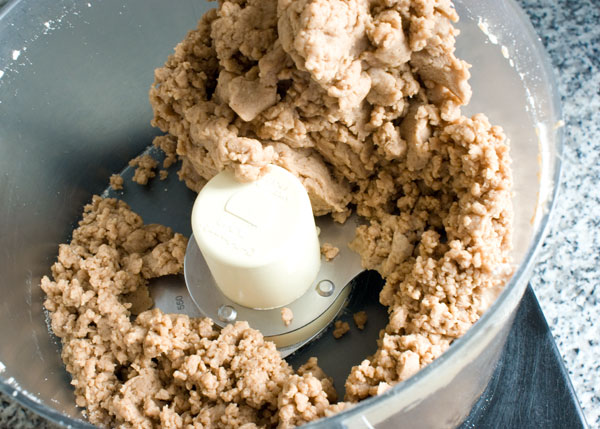
5. Dump it out onto a tabletop…
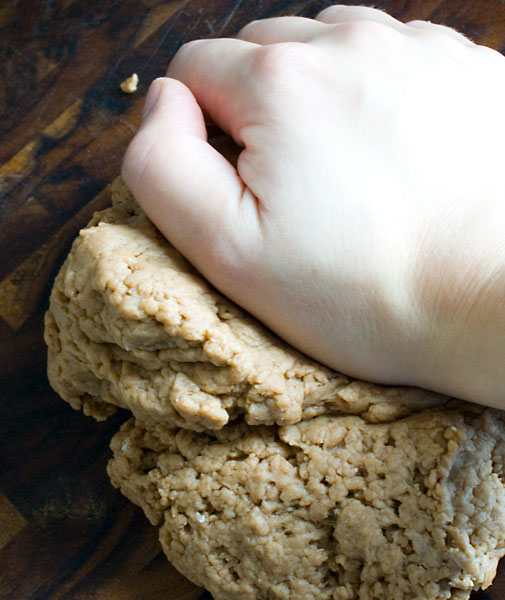
and give it a few turns to knead it and help it form a soft dough.
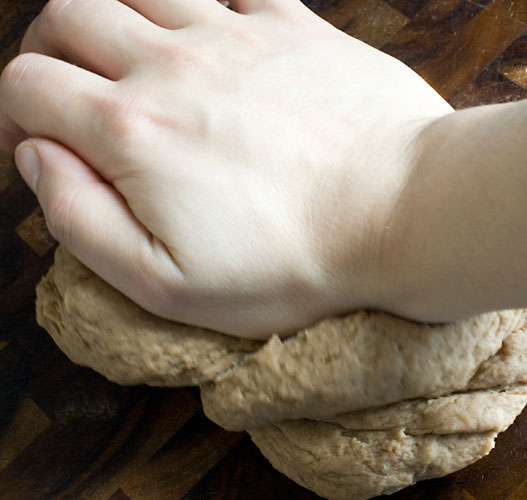
Wrap the dough ball in plastic and refrigerate for 2 hours or overnight. This will help relax the glutens and make it easier to roll.
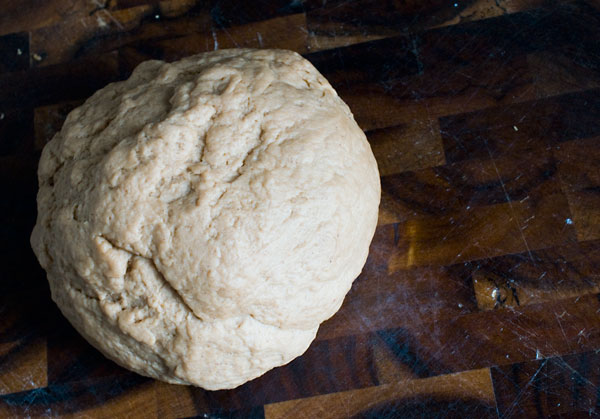
6. Now it’s later, and we’re ready to roll.
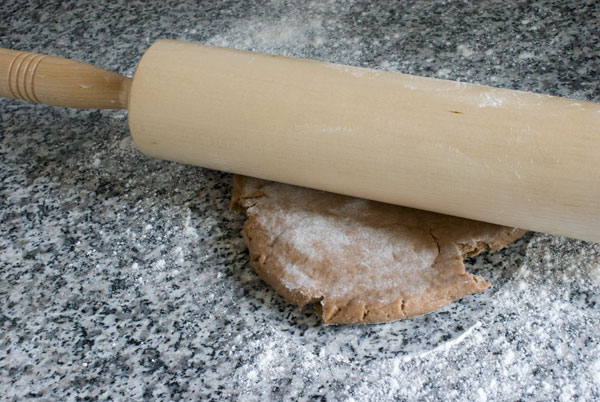
This dough resists like it’s under arrest, but if you keep fighting it and rolling it, eventually, it gives in and rolls thin. It’s very important to roll as thinly as possible or the shells fry up too thick and burly. You can see my edges went haywire from the fight.
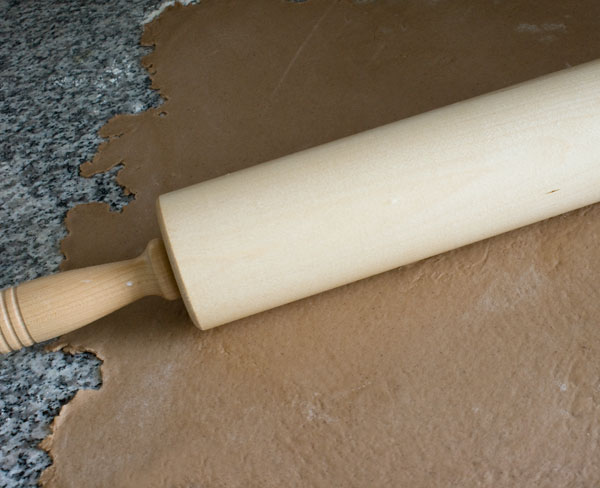
7. Cut out circles. Test one out to make sure the size will be able to wrap all the way around your cannoli forms. I used a 4″ glass.
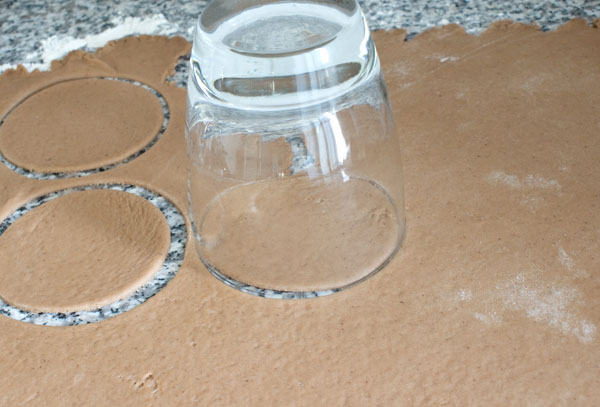
I tested out frying a cannoli with this dough thickness, and they still fried up too thick for my liking. I rolled each cut circle even thinner.
Now’s a good time to start heating up the oil. Get the frying tools:
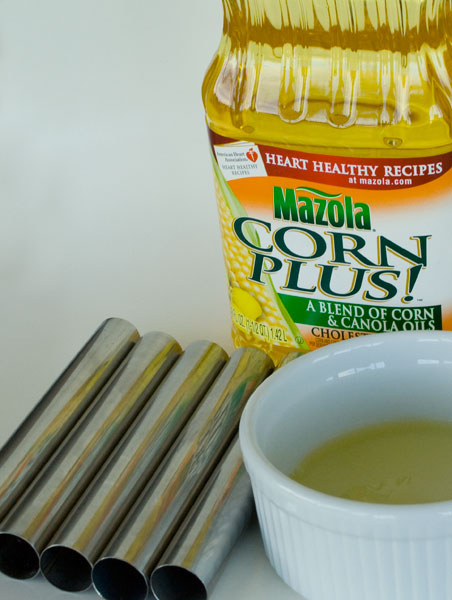
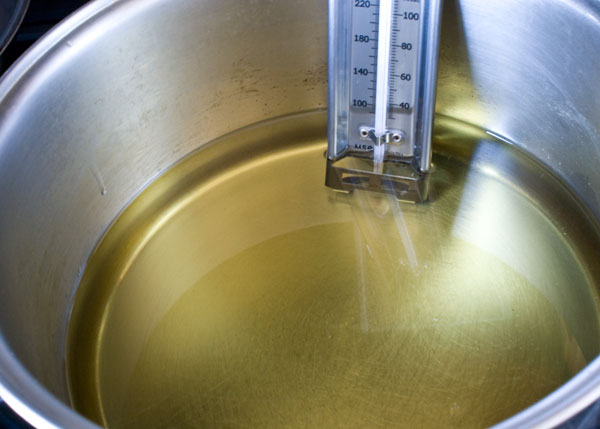
Pour the oil into a pot and attach a candy thermometer to the side. Don’t let the mercury bulb touch the bottom of the pot or you may get a false reading. I tried frying at 350F, 375F, and 400F, and found 375F to be best. Set the heat to high until it comes to 375F, and when it does, you can turn down the heat to medium to keep it more or less steady. Keep an eye on the heat while frying: if the temperature drops, turn the heat to high until it reaches 375F again, and if the temperature soars, turn the heat down until the oil cools a little.
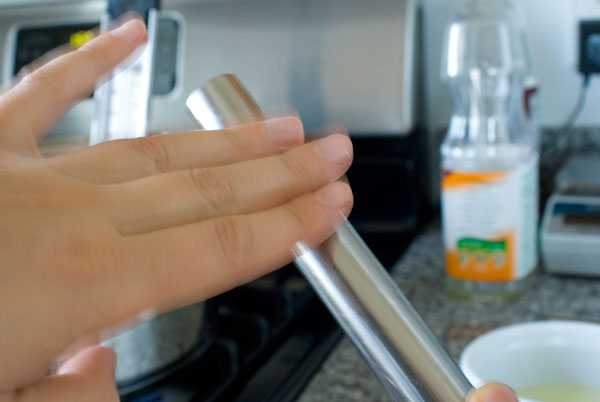
Get the molds ready: Oil each mold so the dough can slide off once its fried.
Wrap the dough circle around the mold and rub a little egg white on the area that you want to glue. Be sure not to get any egg on the mold or the dough will stick after its fried.
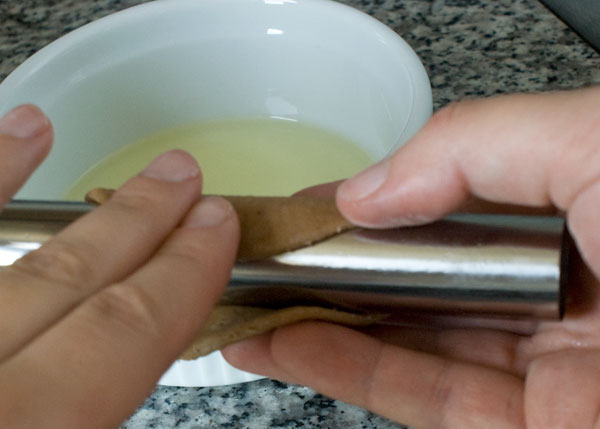
Once you have your forms all wrapped up and the temperature is set, you’re ready to fry. Carefully, I repeat, CAREFULLY, set the molds into the oil. I was able to fry 5 at a time. You will see the oil start frothing at the mouth. My molds sank. Some molds will float. In either case, be sure to use a slotted spoon to move them around in the oil so they fry evenly and don’t stick to each other or to the bottom of the pot.
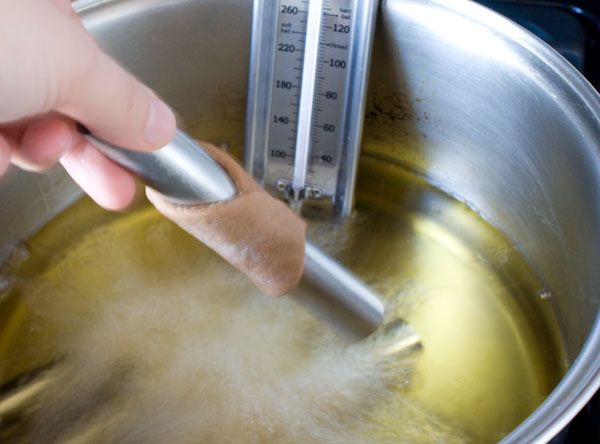
They take 2-3 minutes to fry. They will deepen in color and lose their raw look. Quickly pull them out with a slotted spoon and place on a paper-towel lined plate to drain. You may need to try a batch and see how it goes. My first batch wasn’t ideal. They outside looked cooked, but once I pulled them off the molds I saw that the inside was still a little raw and doughy. My next batch cooked for minute a longer which improved matters. There is a learning curve.
You can let them cool for 3 or 4 minutes, but you must pull them off before they cool completely. Once room temperature, they are very hard to pull off. A did lose a couple to stubborness, but most of them gave me no trouble and came right off.
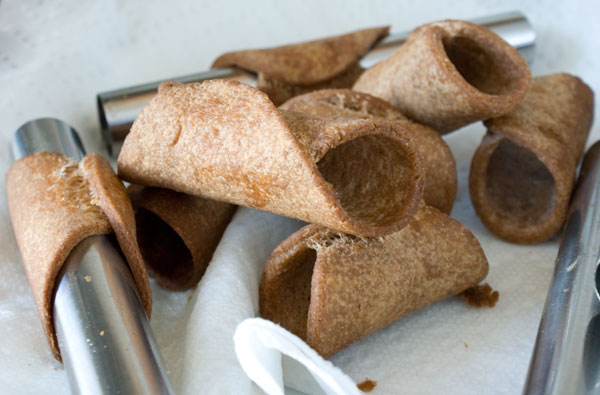
Let them cool completely. Keep frying the connoli in batches until you’re out of dough.
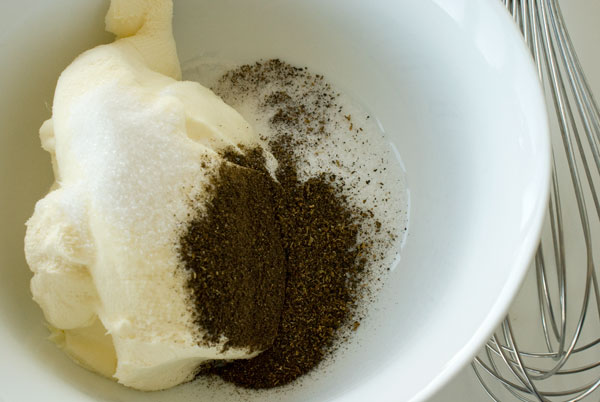
While they cool, make the coffee filling. The stuff:
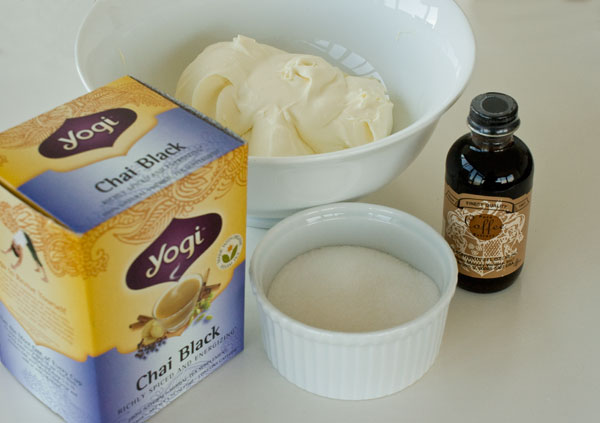
Plop mascarpone, sugar and coffee extract into a medium bowl.
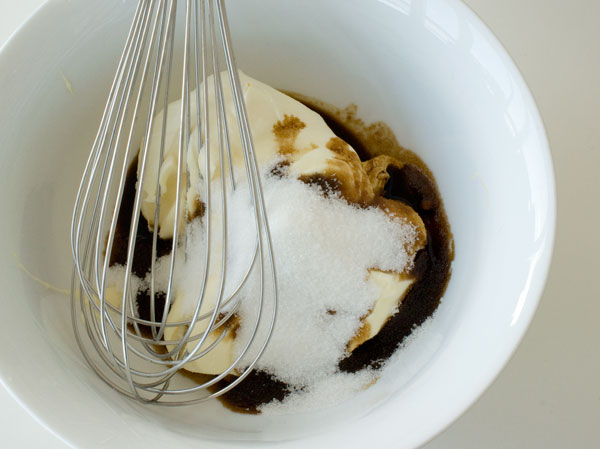
Then whip it like whipped cream. First it will be soupy…
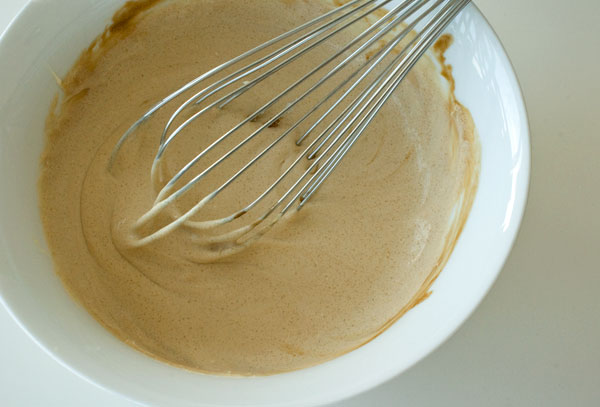
…then it will get stiff as it’s whipped.
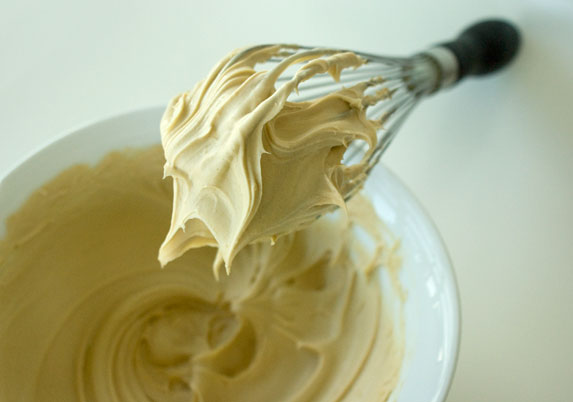
Spoon the filling into a pastry bag outfitted with a star stip.
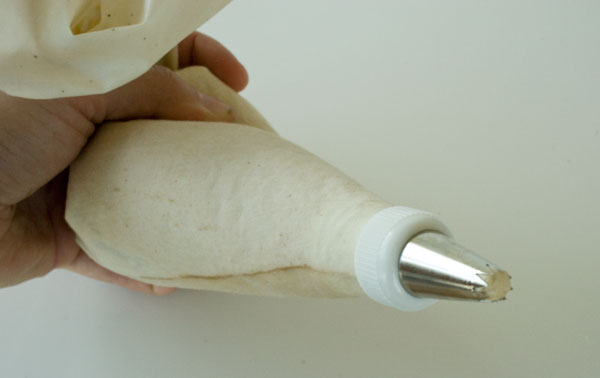
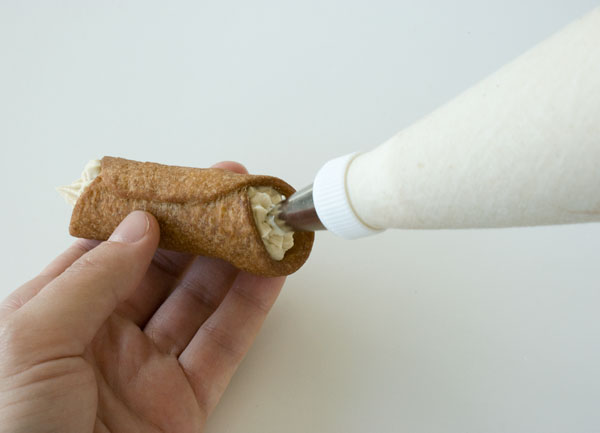
Pipe some into one end…
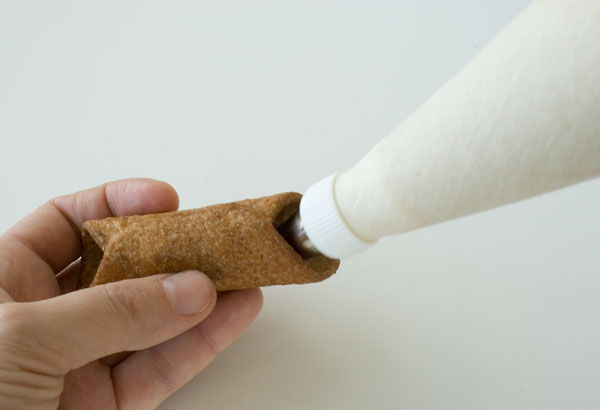
…and then the other.
If you want to make the chai filling, do it exactly the same way as the coffee filling, only add 1 tablespoon of ground chai instead of coffee extract. To get ground chai, pour a little into a spice grinder…
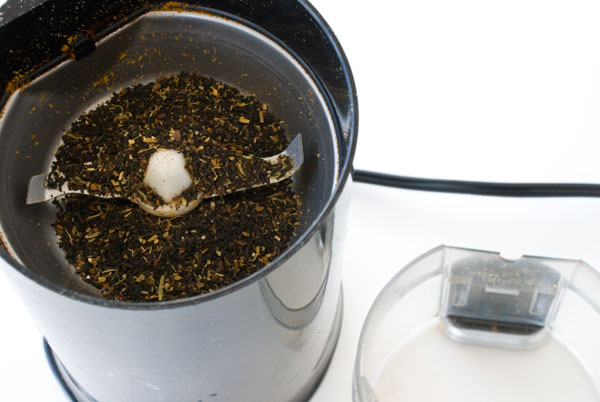
…then grind to a fine powder.
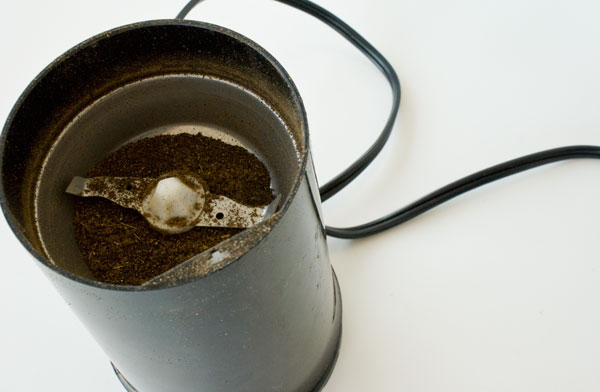
Add to the sugar and mascarpone and whip.
Be sure to fill them shortly before serving or they will get as soggy as a washed mushroom.
21 Responses to “Coffee or Tea? Cannoli, that is.”
Post a Comment
Your E-Mail will be kept private. * = required fields.


Awesome !! Imaginative fillings!! Wasnt this a fun challenge ??
Oh my gosh. Be still my heart! These look absolutely incredible. Wanna be my neighbor?
Oh, I love your fillings – chai and coffee! With the cinnamon flavour in the dough, they would both taste just delicious.
Mm-m.. coffee flavored filling.. that sounds so good…
Why didn’t I think of that? 🙂
Stunning step-by-step photo series and wonderful fillings tea and coffee flavoured you did for the cannoli and the shells look good also. Cheers from Audax in Australia. You are a good photographer.
I made my own mascarpone, too. Your cannoli (without the “s”) are beautiful!! I always look forward to your process photos.
I love the flavor choices. Can I take both? I admit I’m one of those who are afraid of deep-frying but I’ll be the first to blame the myself if I come to harm (I’m so clumsy). Thanks for the links to cheesemaking, too. I’ve been dying to try that.
amazing work on the step by step pictures. love the pile of sugary deliciousness.
Just beautiful! I love way you have set them up for their pic.
Yours are so pretty!! I love chai.
What an absolutely fantastic write up!! I was driven into your words like one car into another car’s rear bumper when not paying attention! Your cannoli is gorgeous and the step by step photos outstanding. Love the chai filling too. You really rocked this challenge, and I agree, it was good to take the cannoli out of the retirement home for a months or so LOL Thanks for deep frying with me this month!
Beautiful cannoli and what I wouldn’t give for a chai one. I think I’m gonna have to try that one.
Coffee and Chai–yummy filling!
Lovely photos and illustrations, and chai cannoli…sounds delicious!
Love the play-by-play. I’ve never made cannolis, but would love to try. Frying doesn’t happen but annually, when I get a huge doughnut craving, but I think I’d make an exception for these Italian studs. Yummy!
Ooooooh, these look amazing! Love the sound of those fillings.
Your cannoli are fabulous. Awesome pics too!
Natalie @ Gluten a Go Go
Great pictures! Thanks for the tutorial! Your cannoli look amazing. They don’t have that warty look that I’ve seen so many others get. Is there any way to avoid it??
Great idea using coffee and tea as flavoring!
I made up a batch for the challenge too. Fried them up before realizing I haven’t rolled hem thin enough. I ended up not posting about them at all… Yours look great!
I just want you to know that I do make my own cannoli and have for the past 40 years. My aunt and grandmother made them…I still have their cannoli recipe…but the one I use is from my former landlady. She showed me how to make the ricotta filling and also the pudding filling with the vanilla and chocolate. The Italian bakery shops west of Boston used to make a cannoli with half vanilla and half chocolate pudding filling….yummy. However, my favorite has been the ricotta filling. My daughter and I even sold them a few years ago at a farmers’ market in an east bay community of San Francisco.
Everyone loved them. They were a big hit. We made lemon, hazelnut cookie-flavored and vanilla-flavored cannoli. Matter of fact, I would give them out to my neighbors for a Christmas gift every Christmas.
These delicious, lucious confections are not relics as you seem to think they are. Everyone looks forward to them when I make them. Also, I figured the ones I made came to about 200 calories a piece. That includes the filling. I deep-fried them in olive oil and that added a delicious flavor to them.
I also like to bake but am not anywhere near as good and imaginative as you are. Wish I were!