Nanaimo Bars in 100 easy steps
January 26th, 2010 | 36 Comments
Every once in a while a Daring Bakers Challenge will come up that isn’t so much a test of skill as it it a test of patience. All the steps in the recipe are easy. It’s just that there are a lot of steps. And I don’t mind putting aside a couple of hours of my day to make a recipe, especially if I really want to eat it. With this one in particular, the oddly named Nanaimo Bar, I was a wolf that spotted its prey. That bar was going to be mine.
This treat is new to me, yet when I presented these to my Canadian friend, she reacted as though we found her lost puppy. Apparently, these are all over Canada, blanketing the nation like freshly fallen snow, and she was thrilled to get a taste of home. Not having a frame of reference myself, I had to ask her if these rivaled the bars she was used to. She couldn’t really answer because her mouth was too full of Nainamo.
What made the challenge all the more appealing was that the gracious host, Lauren, leads a gluten-free diet. And if I had any smarts, I would lead a gluten-free diet, too. About this time last year, armed with a basket-full of symptoms, I skipped on over to an allergist, to be given the most cursed of diagnoses: I have a wheat sensitivity. Oh, the horrors! This is on par with telling a football player that their knee injury means a permanent hiatus from The Game.
Is this what happens to pastry chefs and gluttons (are they one and the same)? Do they end up eating so much of this one ingredient over their lifetime, more than their fair share, that their body eventually begins to revolt? Kind of like when medical professionals develop an allergy to latex from daily exposure? It’s just a theory, but I’m now seeing more and more friends being forced to admit defeat against wheat. Wheat has turned against us! It’s become an occupational hazard.
Once the shock wore off, I promptly moved into denial. I questioned what the word “sensitivity” really meant. It doesn’t sound very serious, does it? I decided that wheat was going to play the role of a nuisance rather than a life-threatening illness, and brushed the whole thing off. All year I indulged in muffins, and bagels and pasta, and most of all, Dad’s bread. I also watched myself deteriorate into a foggy, depleted, rapidly aging version of my former self. Something was always “off” and it took all year for me to be able to acknowledge the crappy truth. Wheat was sucking the life out of me. Once I quit the offending grain, the symptoms miraculously dissolved.
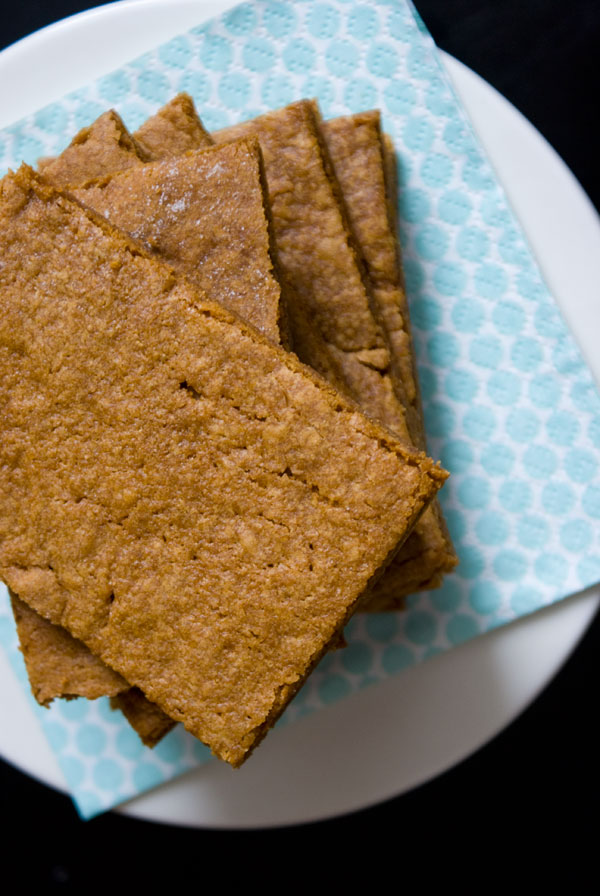
It’s as if Lauren read my mind. Not only are these bars gluten-free, they contain gluten-free, homemade graham crackers. I got to play around with some new flours and get my first taste (pun?) of what they can do. If you and wheat are still pals, you can substitute regular all-purpose flour for these exotic flours, or you can enjoy the bars even sooner if you use store-bought graham crackers.
So what does this mean for me and this blog? Well, luckily, so many recipes are naturally gluten-free, like frozen parfaits, and mousses, and fruit. There will be those. Still, I don’t think I can fully let go of some traditional favorites, and will continue to bake them, even if I only get a bite and have to reluctantly, heaven forbid, share.
The January 2010 Daring Bakers’ challenge was hosted by Lauren of Celiac Teen. Lauren chose Gluten-Free Graham Wafers and Nanaimo Bars as the challenge for the month. The sources she based her recipe on are 101 Cookbooks and www.nanaimo.ca.
Nanaimo Bars
If you use store-bought graham crackers, you don’t even need to turn on the oven. All that’s involved is mixing and pressing in the layers.
For Gluten-Free Graham Wafers
1 cup (138 g) (4.9 ounces) sweet rice flour (also known as glutinous rice flour)
3/4 cup (100 g) (3.5 ounces) Tapioca Starch/Flour
1/2 cup (65 g) (2.3 ounces) Sorghum Flour
1 cup (200 g) (7.1 ounces) Dark Brown Sugar, lightly packed
1 teaspoon (5 g) Baking soda
3/4 teaspoon (4 g) Kosher Salt
7 tablespoons (100 g) (3 ½ ounces) Unsalted Butter (Cut into 1-inch cubes and frozen)
1/3 cup (80 mL) Honey, Mild-flavoured such as clover.
5 tablespoons (75 mL) Whole Milk
2 tablespoons (30 mL) Pure Vanilla Extract
For Nanaimo Bars — Bottom Layer
1/2 cup (115 g) (4 ounces) Unsalted Butter
1/4 cup (50 g) (1.8 ounces) Granulated Sugar
5 tablespoons (75 mL) Unsweetened Cocoa
1 Large Egg, Beaten
1 1/4 cups (300 mL) (160 g) (5.6 ounces) Gluten Free Graham Wafer Crumbs (See previous recipe)
1/2 cup (55 g) (1.9 ounces) Almonds (Any type, Finely chopped)
1 cup (130 g) (4.5 ounces) Coconut (Shredded, sweetened or unsweetened)
For Nanaimo Bars — Middle Layer
1/2 cup (115 g) (4 ounces) Unsalted Butter, at room temperature
2 tablespoons and 2 teaspoons (40 mL) Heavy Cream
2 tablespoons (30 mL) Vanilla Custard Powder (Such as Bird’s. Vanilla pudding mix may be substituted.)
2 cups (254 g) (8.9 ounces) Icing Sugar
1 teaspoon pure vanilla extract
For Nanaimo Bars — Top Layer
4 ounces (115 g) Semi-sweet chocolate
2 tablespoons (28 g) (1 ounce) Unsalted Butter
First the graham crackers:
1. Gluten-free goods.
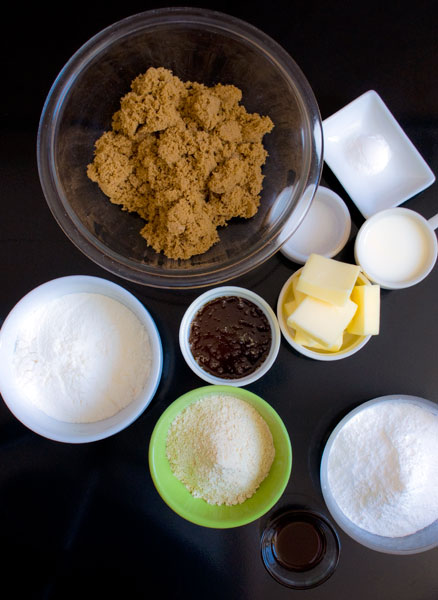
2. In a large bowl go the rice flour, tapioca, sorghum, dark brown sugar, baking soda and salt.
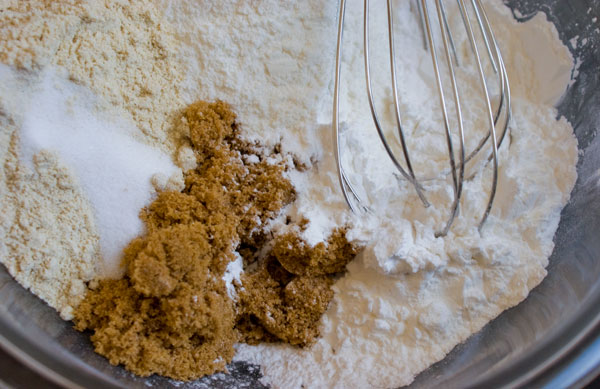
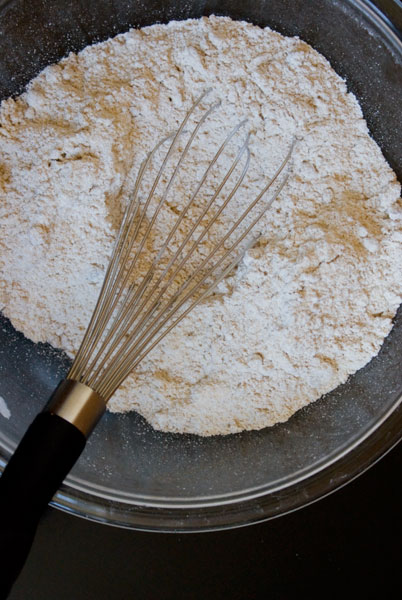
Stir ’em up.
3. Add the COLD butter.
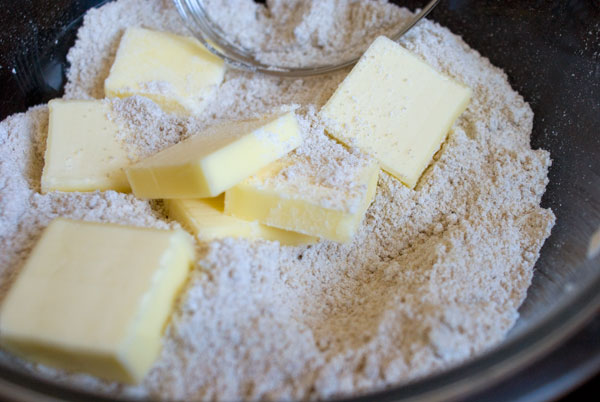
Use a pastry cutter, a fork, or your fingers, to cut it into the flour.
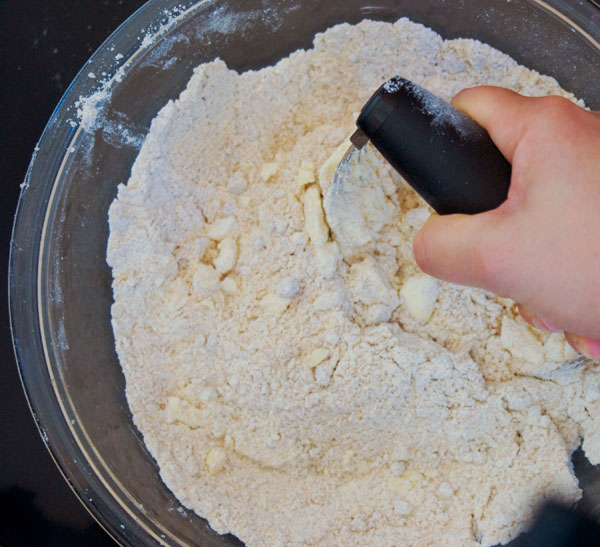
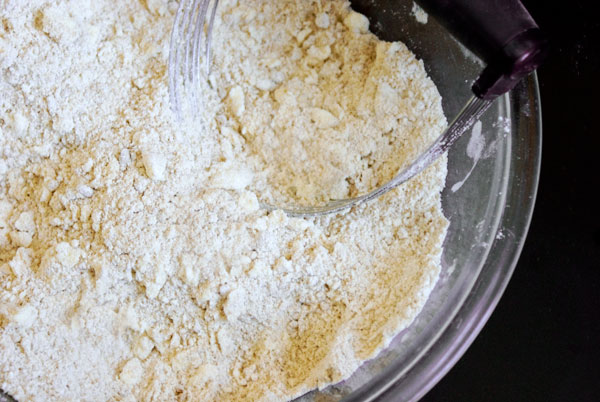
The whole mix should be coarse and grainy, but without any big chunks of butter, like so.
3. In a separate bowl, whisk up the honey, milk and vanilla.
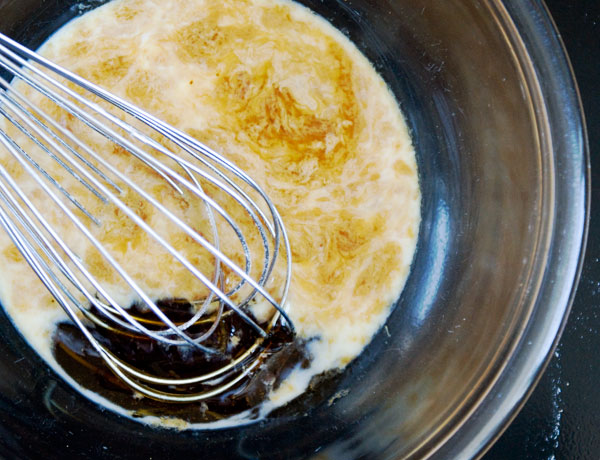
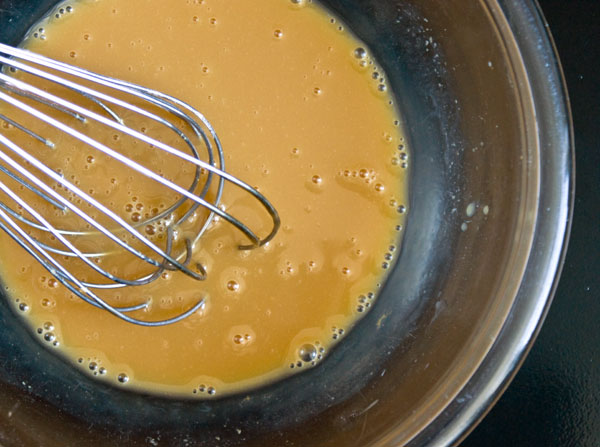
Pour the liquids into the flour mix…
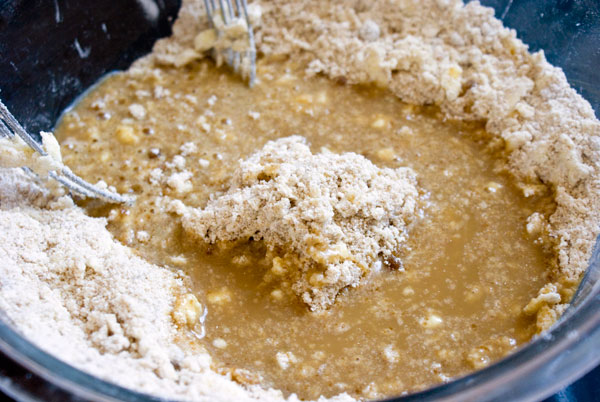
…and stir it all up into a surprisingly wet dough.
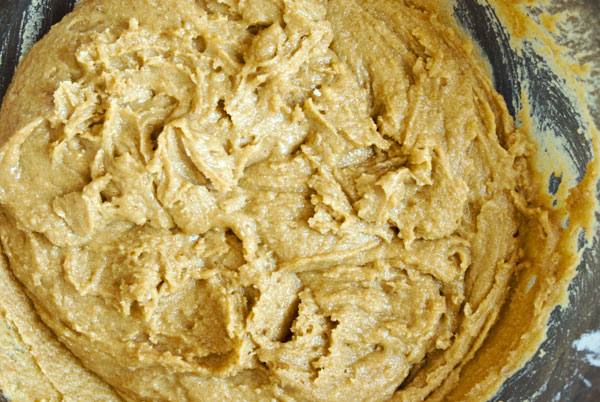
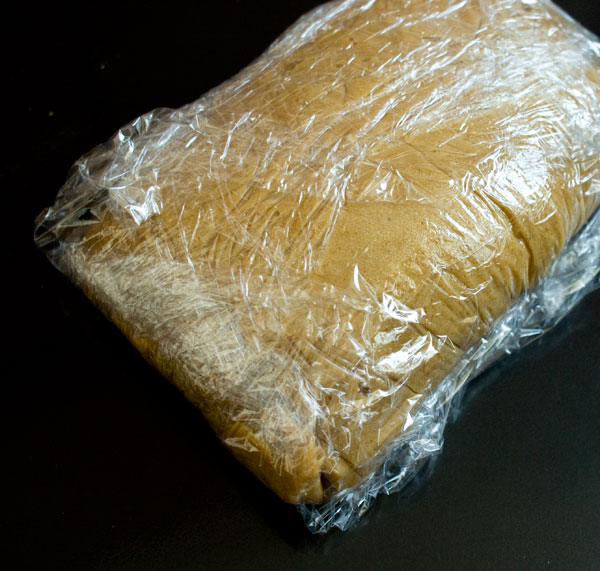
This needs to chill before it can be rolled, so all the dry ingredients can fully absorb the liquids, and become firm enough to roll. Scrape it onto a piece of plastic wrap…
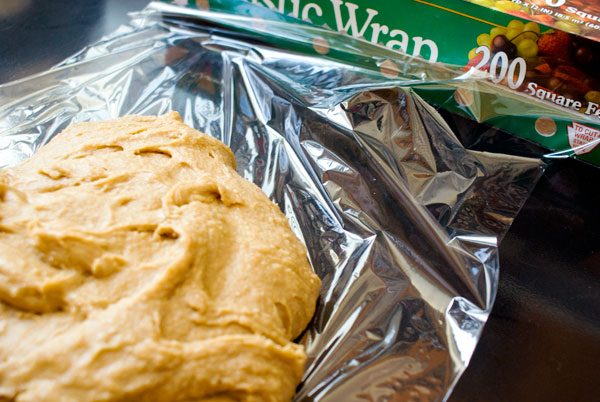
…wrap well, and chill, at least 2 hours, or overnight.
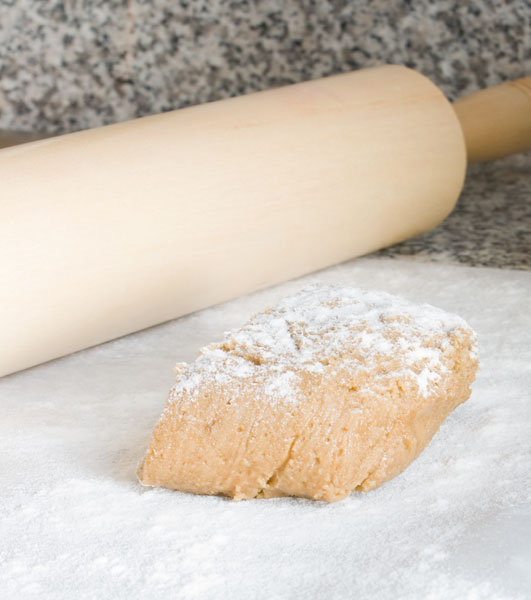
Now it’s the next day. Dough rolling day. Cut off a third of the dough. Because it’s so annoyingly sticky, I roll it directly on the parchment. Flour the top to keep the rolling pin from sticking. Keep flouring as needed.
Roll thin! As thin as you can go. Gently brush away the excess flour.
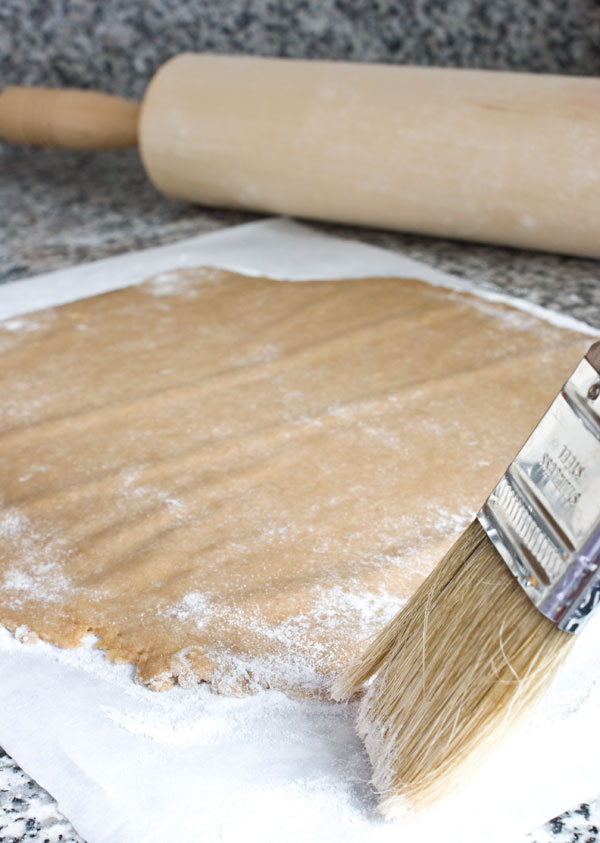
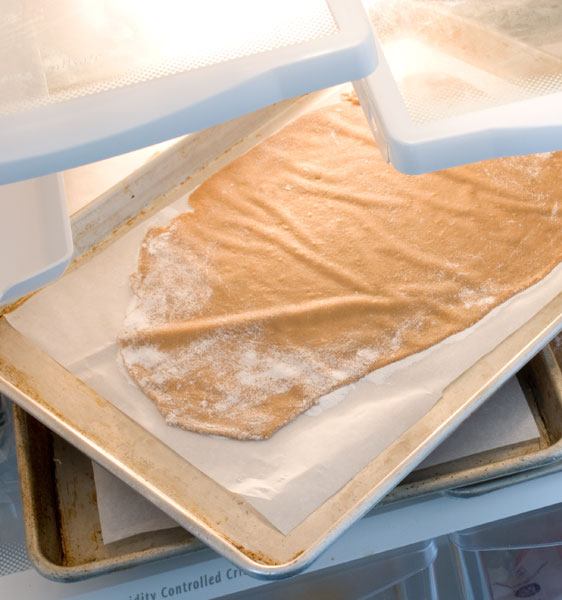
I got 3 sheets out of the dough. Chill the rolled sheets for 30 minutes.
Meanwhile preheat the oven to 350 degrees F.
Poke the dough with a fork…
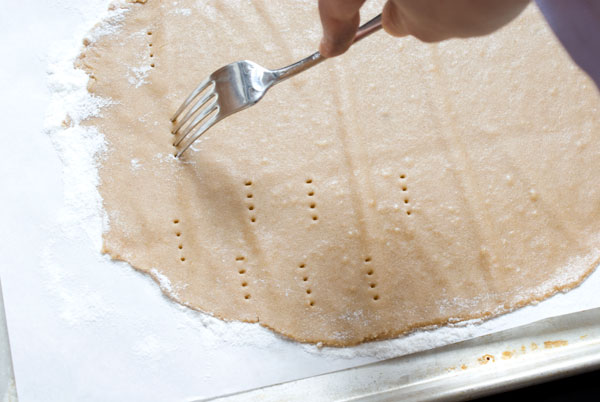
…and bake for 20-25 minutes, until lightly browned and slightly firm to the touch. You can toast your almonds for the bottom layer at the same time on a piece of foil (almonds take 12 minutes).
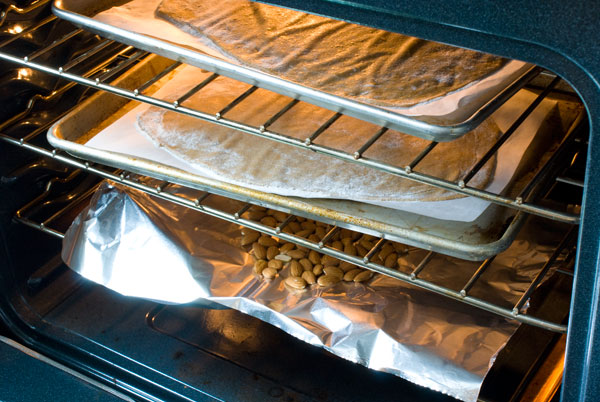
When the graham crackers first come out of the oven, they will be quite soft and yielding before they cool and firm up. Now’s your chance to cut them into squares (a pizza cutter or large knife will do the trick). Whatever size you desire.
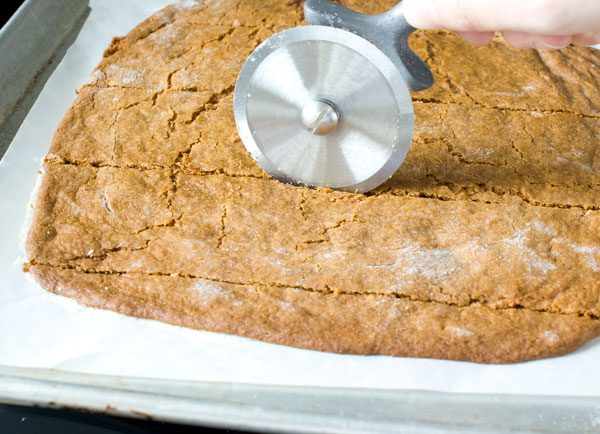
Let cool.
Here are you graham crackers.

Make the bottom layer.
1. Ingredients
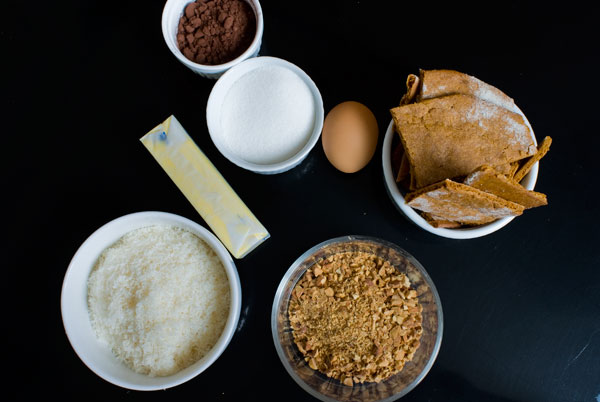
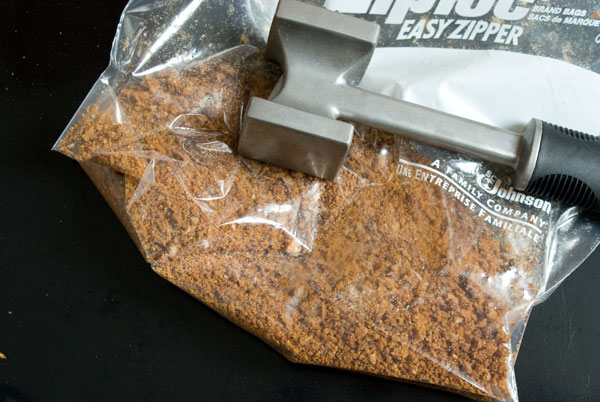
2. To crush the graham crackers, you can pulse them in a food processor or beat them with a meat mallet. I picked meat mallet and first placed them in a Ziploc bag.
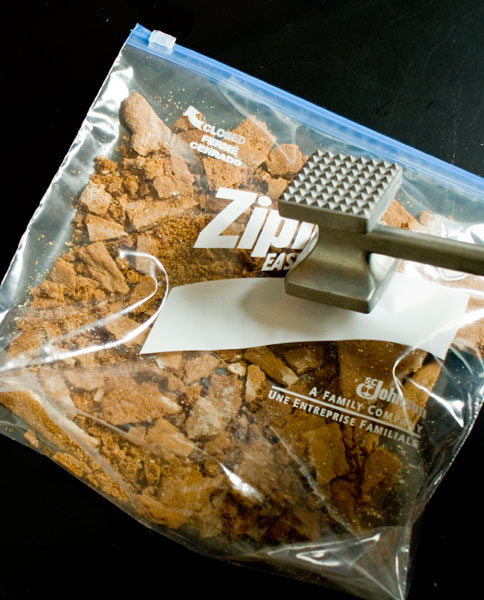
Go to town until they are crumb-sized.
3. Fill a pot with water and bring to a boil. Set a bowl over it filled with the butter, sugar, and cocoa powder. This will be a double boiler that will gently melt these ingredients.
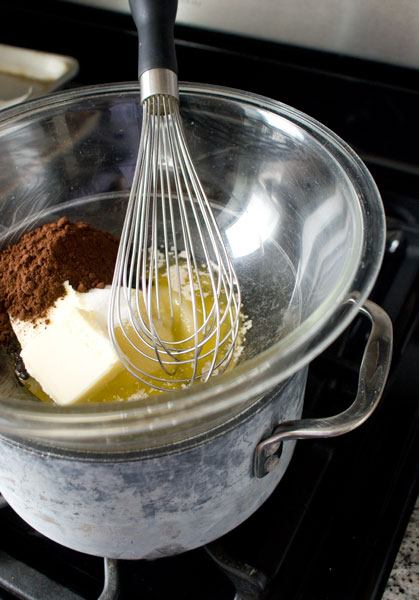
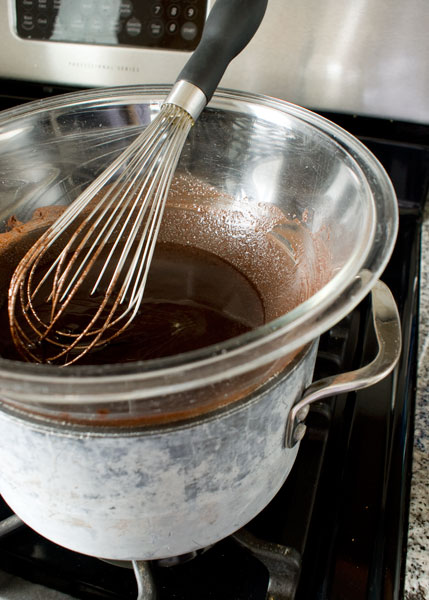
4. Throw in the egg, and quickly whisk it in.
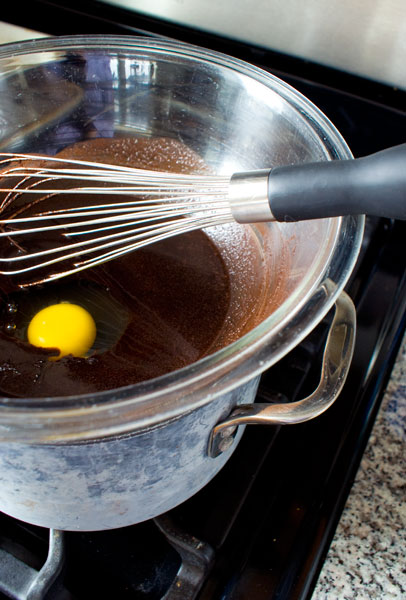
Keep cooking for another minute or two, while continuously whisking. The mixture will take on a thickened, almost pudding-like texture.
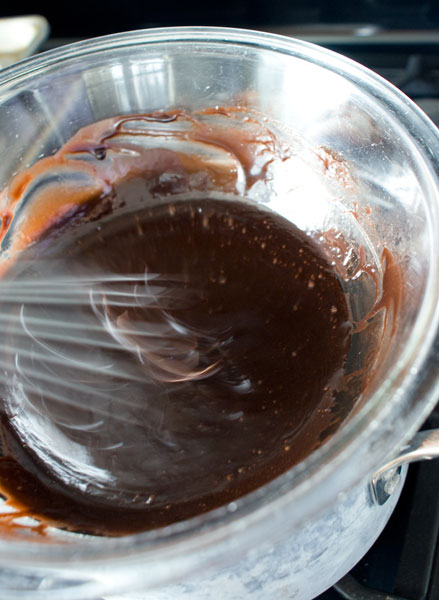
5. Remove from the heat and add in the graham crackers crumbs, coconut, and almonds.
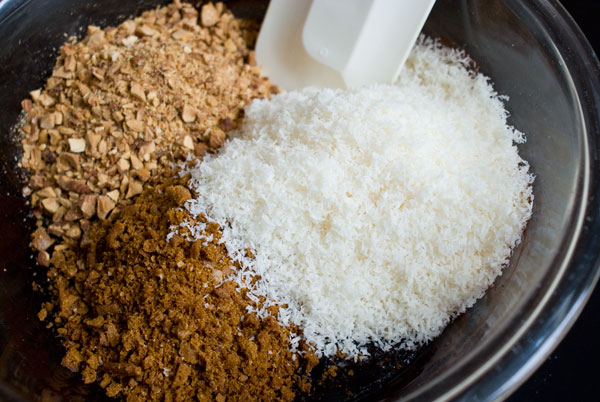
Stir them in. You want to make sure all these dry ingredients are well coated.
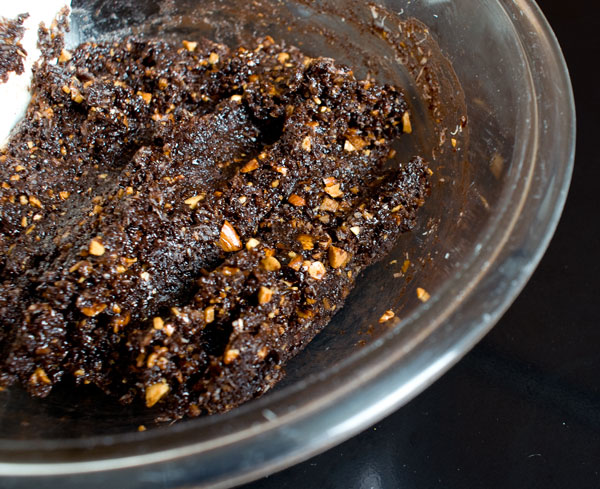
Press this into an 8″ x 8″ square pan as evenly as your fingers can manage.
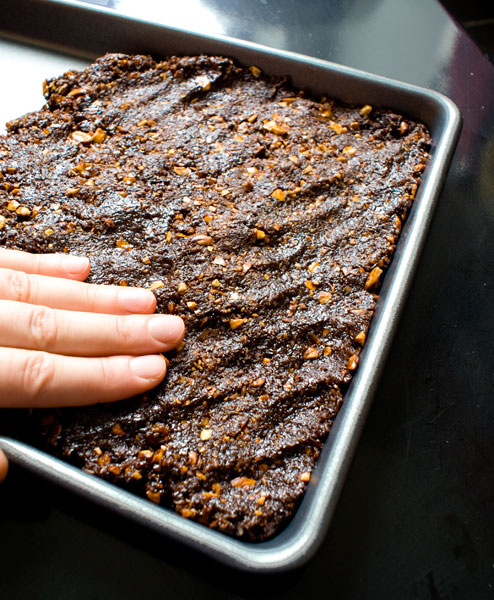
Set aside while you make the middle layer.
For the middle layer:
1. Your middle layer goods.
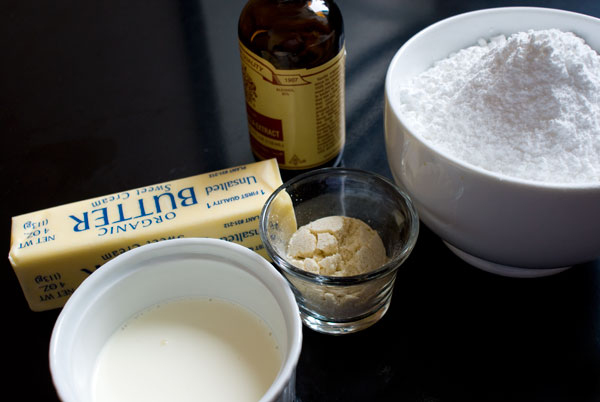
2. Throw everything into one bowl. Yep, one bowl.
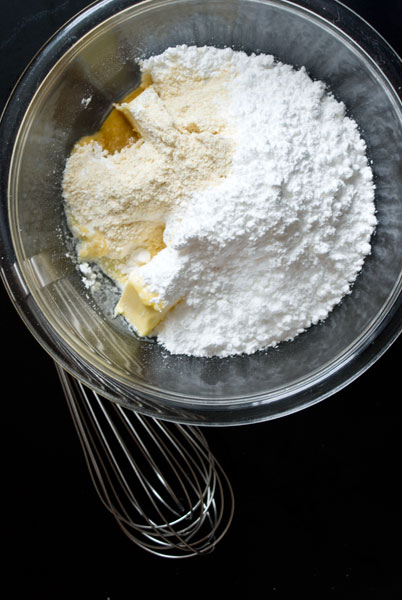
3. Whisk it all together. It will take a little persistence to get everything incorporated, but bear with it. Eventually it becomes smooth, and you can whip it into a light, fluffy mixture.
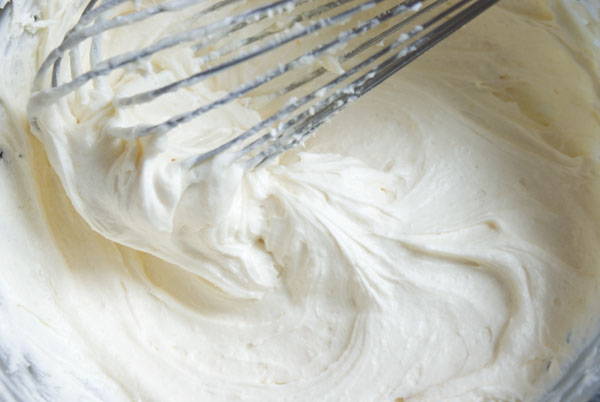
4. Spread the joy onto your first layer.
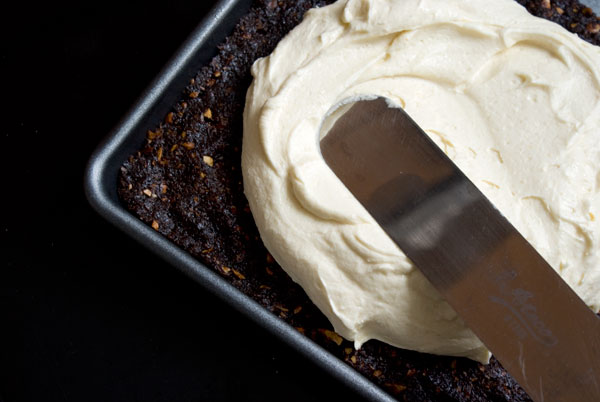
Refrigerate what you have so far while you make the top layer.
For the top layer:
1. Ingredients:
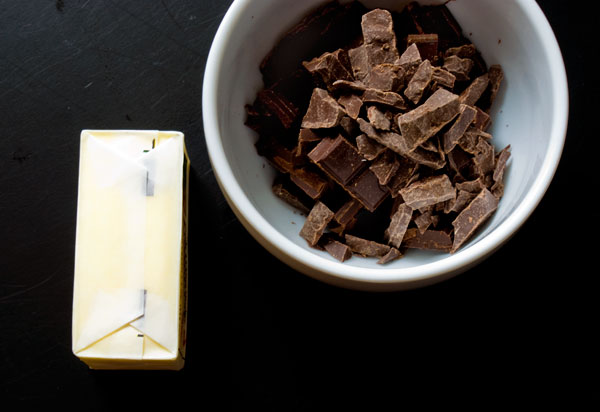
2. Cut up two tablespoons of the butter into small chunks, put it together with the chocolate.
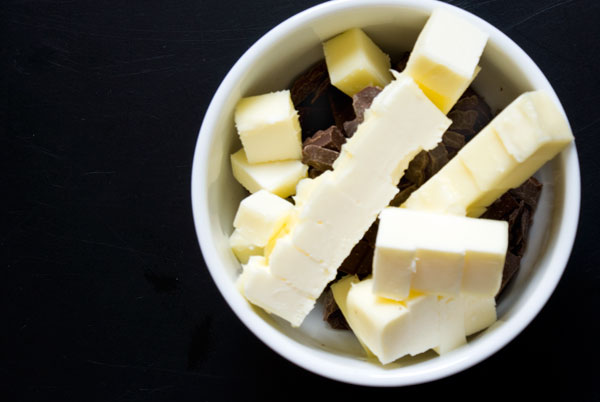
3. Melt it in the microwave. To prevent the chocolate from burning, do this gradually. Start with 40 seconds, stir, nuke for another 30 seconds, stir, and so on, until everything is melted.
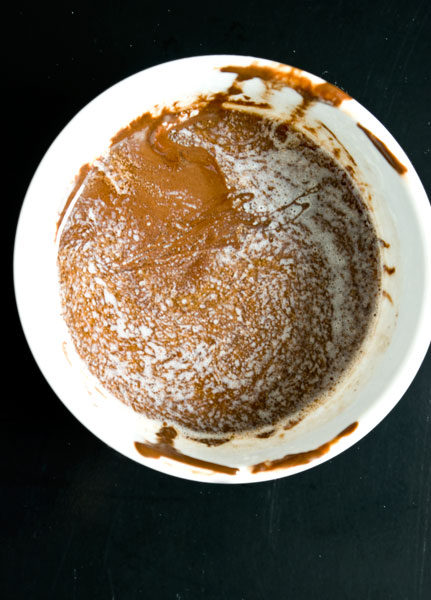
Whisk everything together very well, until it’s smooth and creamy.
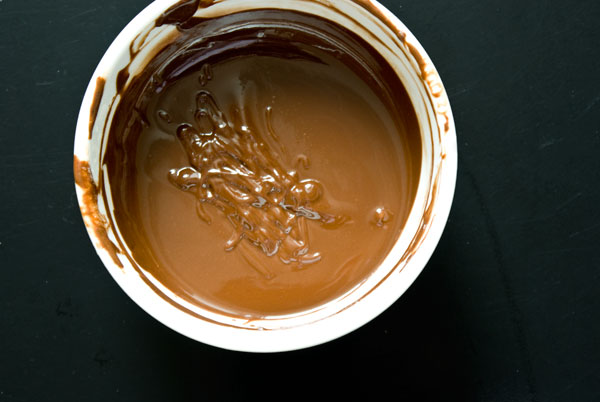
Let this mix cool until it’s lukewarm or room temperature. If it’s poured on the white layer while it’s too hot, it may start to melt the white layer, and create a swirly effect.
4. Pour on top.
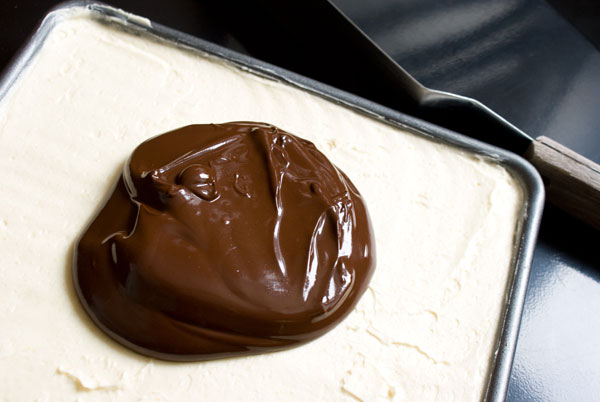
5. Spread out.
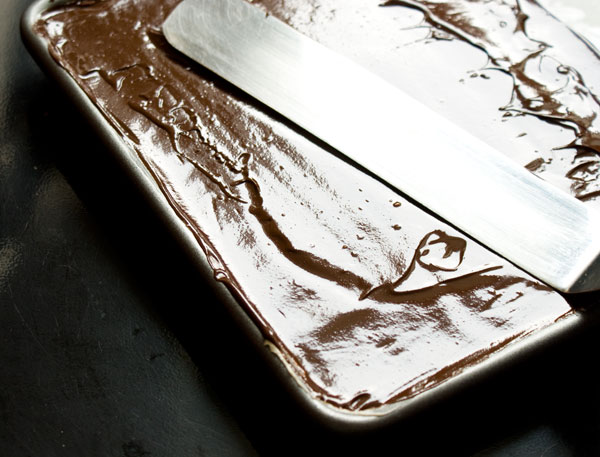
Refrigerate this to allow all the layers to set, at least 2 hours.
To get clean cuts, run a sharp knife under hot water, wipe dry, and slice into the bars. For clean slices every time, again, run a knife under hot water, wipe, and cut. If you want to be an anal slicer.
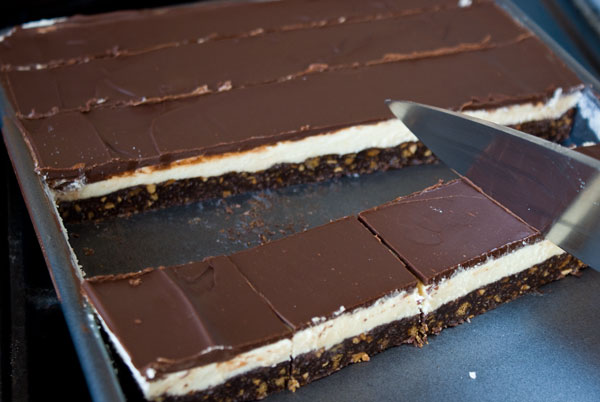
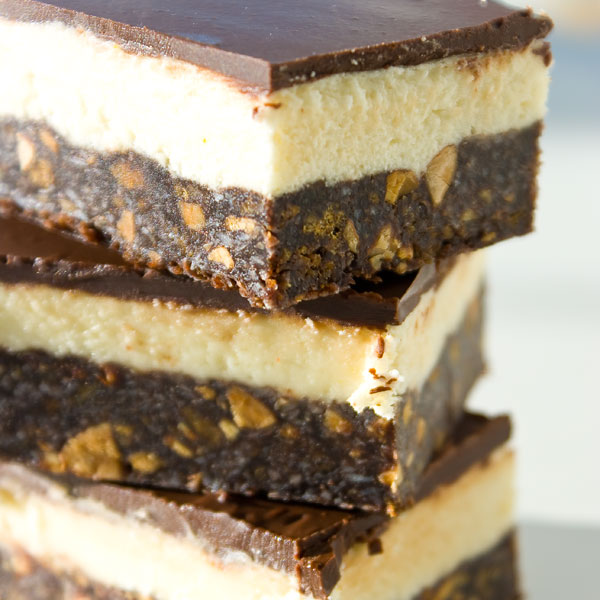
A little taste of Canada.
Tags: bars, chocolate, confection, dessert, graham-crackers, how-to, nanaimo, pastry
36 Responses to “Nanaimo Bars in 100 easy steps”
ABOUT ME
![]() I had a career going in advertising when one day I got the crazy idea to start over and become a pastry chef. Now I'll show you what I learned working in fine dining restaurants all over NYC right here with step-by-step photos. So grab your rolling pin and join in.
I had a career going in advertising when one day I got the crazy idea to start over and become a pastry chef. Now I'll show you what I learned working in fine dining restaurants all over NYC right here with step-by-step photos. So grab your rolling pin and join in.




As always, you did a perfect job on these bars. Even though I made practically the same thing, I enjoyed reliving the process through your photos. Your bars look amazing. Good luck on your gluten-free journey!!
Oh, and I love the title of this post! Hahaha It’s hilarious and very true.
Glad you found another gluten-free recipe you can enjoy! I love your step-by-step photos, and especially the ingredient photos. I made the flour version myself, but loved the crackers!
great looking step-by-step photographs! your nanaimo bars look perfect!
Yummy bars and great pictures!
Wow, so many pictures. Your nanaimo bars look fantastic!
As usual, perfect explanation and photos.. I LOVE the detail.
Now I gotta find the patience to do it!
Thanks for the time and care you take in each post!
stunning pictures and stunning post. I love that this was a great challenge for you.
Great looking bars , and gorgeous step-by-step pictures! Well done on the challenge. I love how neatly you did them!!
Oh I’m so sorry to hear you are allergic to wheat! I’d like to say it’s only for unselfish reasons, but truth be told it’s also because I hate to have anything limit the range of sweets you produce… and delight us with.
I’ve been eating so many of these, and yet reading your post makes me want to jump up and head to the fridge for another. Great job!
I cut my crackers before baking, but seeing how well yours turned out, I might wait until after baking next time. And there will be a next time! I’ve made the crackers three times now. My family just loves them!
Beautiful step-by-step!
I cut my crackers before baking (just like Kat, above), and was really happy with the way they turned out. In fact, I only cut ones I thought I would eat as graham crackers. The rest of the ugly dough I just put on the baking sheet and baked as-is. They were going into the food processor anyway, so I didn’t think it mattered how they looked.
mmm. They look wonderful and I’m really impressed that they’re made from scratch start to finish – graham crackers included. I’d just go grab a box of the shelf!
I just love your step by step photographs. I think I say that every single time, but I truly mean it. So you can’t eat too much wheat, huh? I suspected I was intolerant a year or so ago, but still in denial phase. Now you’ve got me thinking again……
Just found you through the Daring Kitchen. Your bars look so perfect. I love all of your step-by-step pictures. I try to do that too. I really like your blog, and I’m subscribing to it! (I just started working at a bakery 6 months ago… I saw that you’re a pastry chef. Looking forward to your posts!)
I can’t imagine having a wheat allergy. Like you described, there’s just too many wheat products that I adore and eat every day. I’m so glad you’ve found plenty of tasty ways to get around it, though, and your nanaimo bars are beautiful!
What a great post! Wonderful step by step photos and the end result is just lovely. Great job all around!
Gorgeous work! Everything looks just perfect.
Your photography and writing are wonderful as are your nanaimo bars. As a New Yorker fixated on all things food it was also fun to read your journey through the becoming, being and moving beyond being a pastry chef.
Beautiful bars and the step by step is such a great way to teach people to make something. Looking forward to seeing more delicious things from your kitchen via Daring Bakers 🙂
Wheat intolerance must be a common problem! I am still in denial as well, but I’ve read that two weeks of strict avoidance of wheat and sometimes you can add it back gradually and be ok as long as you don’t overdue it (like an entire carrot cake or something!) Oh, and I’ve joined daring bakers so Feb will be my first DB adventure!
Great looking bars and lovely pictures too 🙂
yummmm, your nanaimo bars version looks really great!
Love the presentation
and the making of pictures are amazing!
Great job!
Inbal
(also a DB)
LOL! I’m originally from Nanaimo, and I’ve NEVER liked Nanaimo Bars! I’ve tried them in as many different bakeries and shops as I can find them, and they just haven’t been my favorite. However, yours look amazing, and possibly if I had one of them to try, I may be a born-again Nanaimo-ite through and through. Beautiful photographs as always, since this challenge I’m going to post a link to your blog on mine so my (few) followers can check out the great job you did. I just found the Daring Bakers and joined, so I’m looking forward to my first challenge. I’m sure I’ll have lots of questions for you. Take care!
More like 40 steps, I think 😛 😛 Lol.. I actually counted!! Thanks for the great step-by-step. How do these taste, though?
Avanika — 40? Looks like I’m prone to exaggeration.
They were a very good treat and I’d make them again. They were addictive. But maybe a hair too sweet. Next time, I’d reduce the sugar in the white layer by 1/2 cup.
These truly are a taste of home for me!! YUM!
I’m so glad the challenge worked well, into your life and otherwise =D. If you ever have any questions about being gluten-free or whatnot don’t be afraid to ask! You did an amazing job on my challenge (awesome photos!!).
[…] inspiration, I just happened to go to Irina’s home page and guess what I found? A recipe for Nanimo Bars that are gluten-free! The Nanimo Bars recipe was part of a 2010 Daring Baker’s Challenge […]
You have the best looking Nanaimo bars for the DB challenge. One of my friends is allergic to gluten, so I’m bookmarking this recipe 🙂 Lovely dessert, as usual.
Very nice!
I’m so glad the challenge worked well, into your life and otherwise =D. If you ever have any questions about being gluten-free or whatnot don’t be afraid to ask! You did an amazing job on my challenge (awesome photos!!).
Very nice recipe, i will do it soon!
Your nanaimo bars looks delectable…I live in Canada and we have a lot of them but your version seems so much better…I think I will try making it in the next week or so… and as always amazing pictures…It really helps out a lot as I like knowing what they are suppose to look like so I am in the right track…You are a definite inspiration 🙂
Hey. Just found this recipe and your blog. They are both awesome. I have made the nanaimo bars but my filling came out quite yellow rather than cream coloured as per your photo. I reduced the icing sugar by half a cup as per your post – is this why?
Hi Sophia — Honestly, packaged vanilla mix can come in different tints, so I wouldn’t worry about it, as long as they taste good. You can try a different brand next time, if it really bothers you.