Peanut Butter and Jelly Ice Cream
March 18th, 2014 | 8 Comments
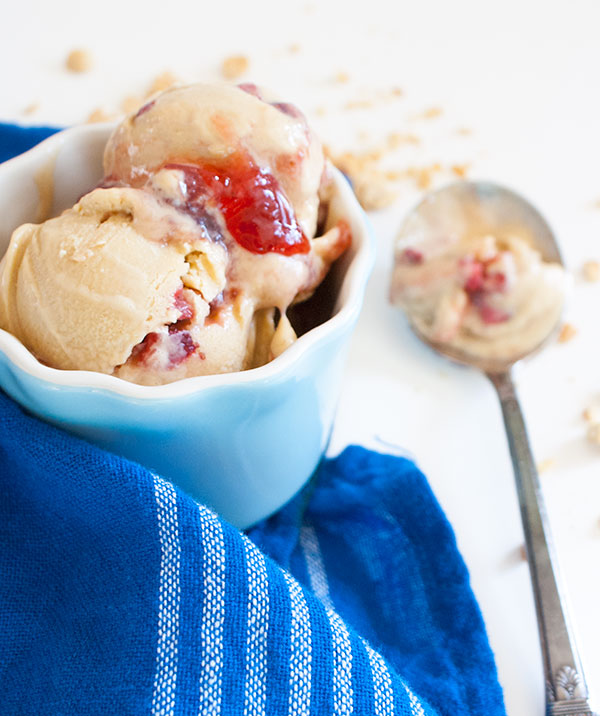
There must be an Elvis in the house because, while munching on a banana, my boyfriend exclaimed a wish for peanut butter and jelly ice cream. He’s a walking, craving inspiration. Ice cream is his Achilles’ Heel and he’s sampled one and all. It’s a hotly debated topic of conversation around here.
My personal favorite style of ice cream is the french custard style, meaning egg yolks are used in the recipe. I also can’t resist some sort of stir-in, which is the obvious act of stirring in whatever crazy whims come to mind into freshly spun ice cream. Don’t let me stop you. I’ve seen everything from lobster ice cream to bacon bits.
Consider this a kind of refresher course for French-style ice cream. If you look at this ginger ice cream version, you will see that it the EXACT SAME RECIPE. The only difference is that in that one I infused the ginger into the hot liquid. In this one I stirred in some peanut butter. Are you seeing a pattern? Are you seeing where I’m going here? This yellow brick road leads to your wild imagination. What can you substitute here to get a variation on the theme? Nutella? Almond butter? Let’s go off the rails, and try pureed bananas. Then squeeze that brain for ideas for stir-ins. Lets go for brittle, or crushed candy bars, or brownie bits.
Or just make this one, cuz Elvis said so.
Here’s what I’d suggest for ice cream makers. If you have freezer space, these pre-freeze bowls
work great. If you want something fancy with a full compressor system built in, where you don’t have to remember to pre-freeze a bowl, you can go for something like this.
Peanut Butter and Jelly Ice Cream
I like to include fresh strawberries in the jam for that fresh-y burst. You don’t necessarily have to.
Makes about 1 quart.
For the ice cream:
2 cups heavy cream
1 cup whole milk
3/4 cups granulated sugar
8 large egg yolks, ready and waiting in a large bowl
1/2 cup peanut butter
For the jelly:
about 1 cup strawberries
1/3 cup granulated sugar
about 1/3 cup strawberry jam
chopped peanuts for garnish
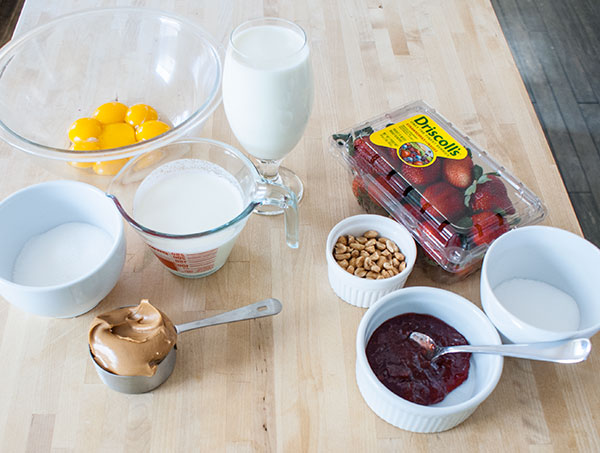
1. Here are the goods.
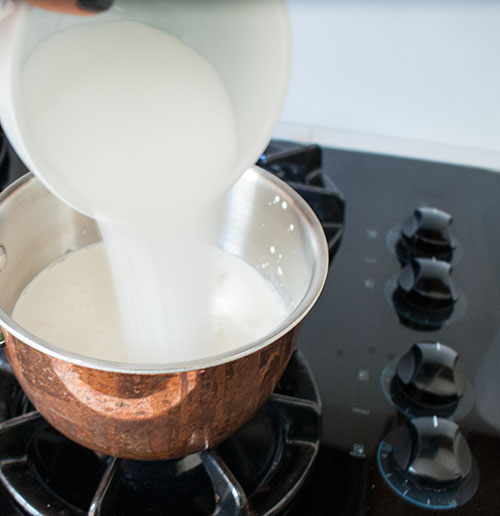
1. First thing’s first: In a medium pot go the milk, cream, and then (this is important), only about 2/3 of the sugar. You can be rough in your approximation. The reason I do it this way is because it doesn’t have to be exact. I just want to save some for the yolks. It all ends up in the same pot in the end. Set the remaining sugar aside for the moment.
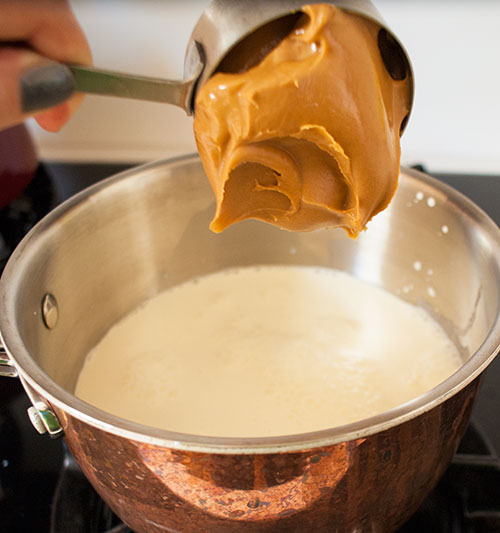
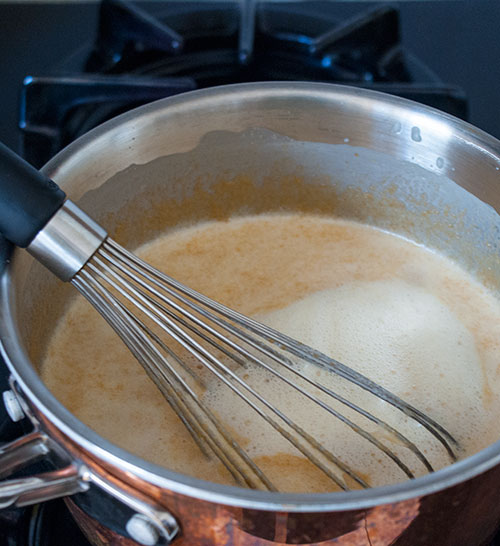
Dump in the peanut butter and boil that jazz over high heat. The peanut butter will be easier to stir up as the high heat melts it. Don’t walk away though. Pots with cream have a nasty tendency to boil over.
Here it is all boiled up.
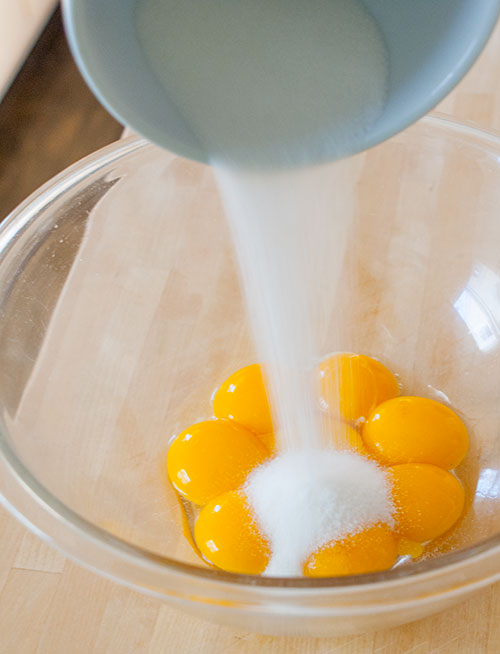
Ok, here is where the rest of the sugar gets useful. Once the pot has boiled, I pour the sugar into the bowl with the yolks. Not sooner, because sugar and yolks sitting together for too long makes for some dried out yolks.
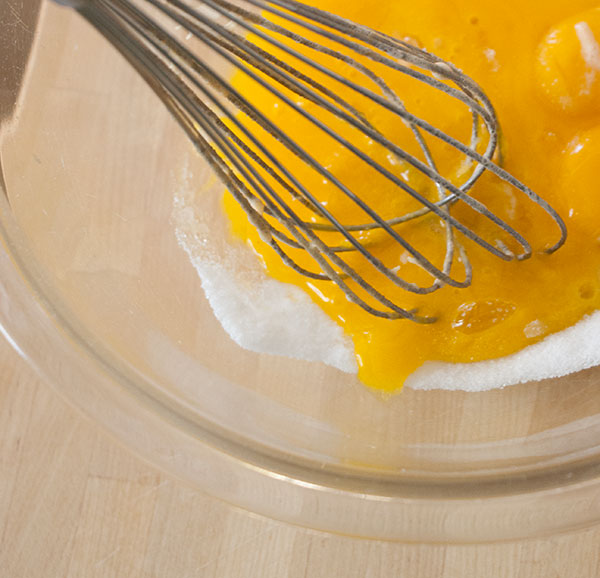
Whisk them up.
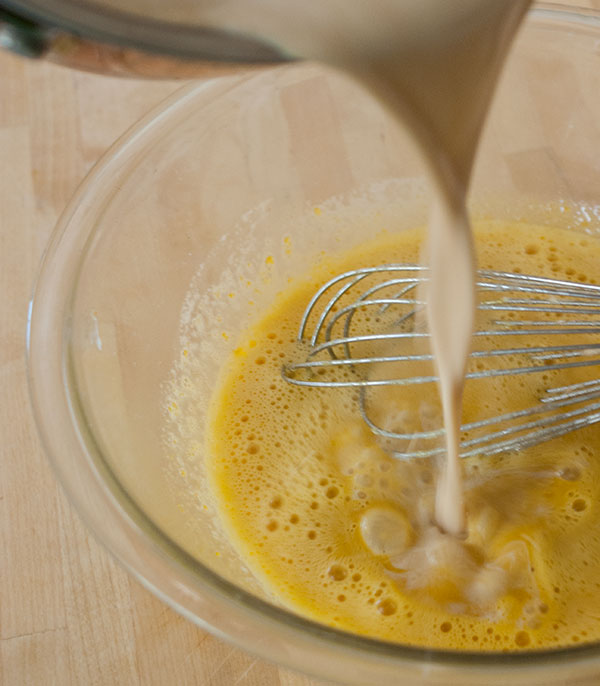
Now let’s “temper” the milk into the yolks. All while whisking, slooooowly stream the hot milk mixture into the yolks. We don’t want the shocking heat of the milk to scramble up the yolks.
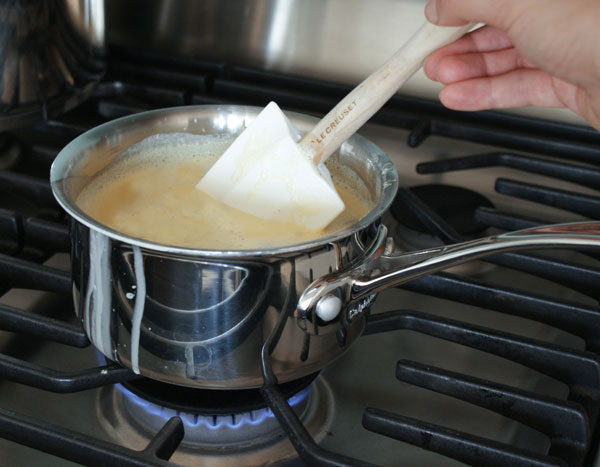
Return everything to the same pot, and over low-medium heat, thicken the mix. Stir the entire time with a wooden spoon or a heatproof spatula, especially concentrating on the bottom and edges of the pot, so the eggs don’t stick and burn.
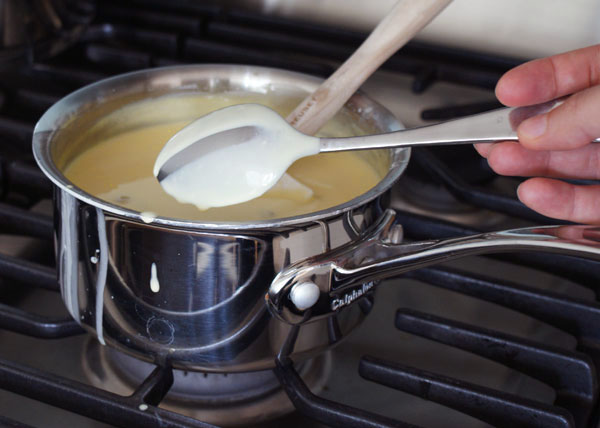
After about 5-10 minutes, the whole shebang will get thick enough to coat a spoon, where a drawn line will hold its shape. That’s when you know it’s done. Don’t dawdle here. The residual heat will keep everything still cooking, and there is still a chance of the eggs scrambling up.
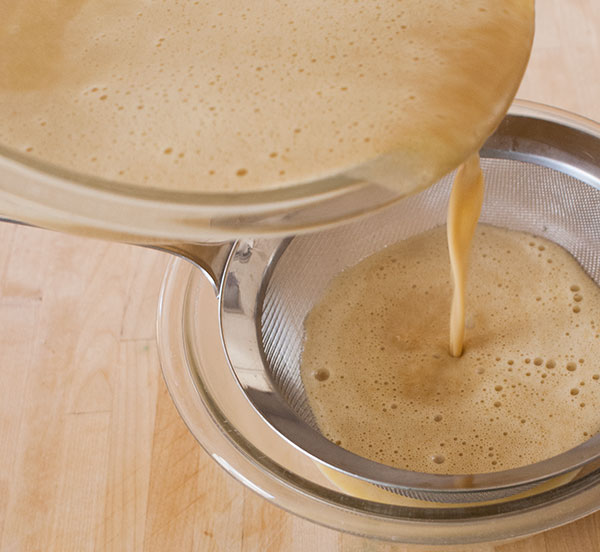
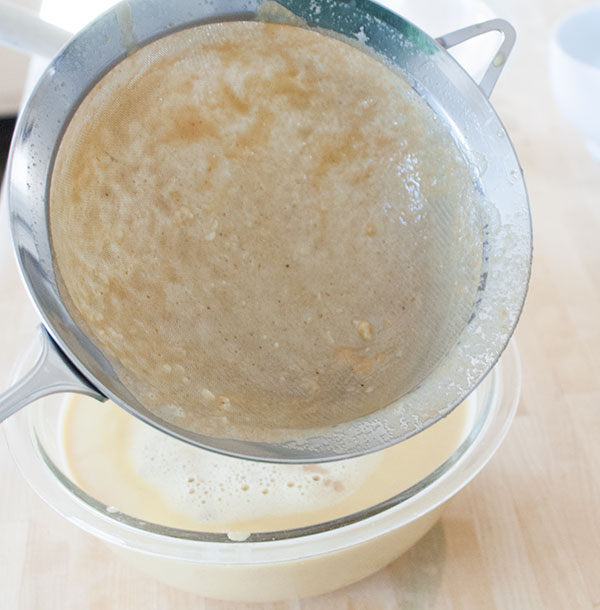
Pour everything through a fine-mesh strainer into a storage bowl or container. Since the mixture will be a little thick, you’ll likely have to coax it with a spatula through the mesh.
You can see that the strainer does catch some bits and pieces of errant egg. This bowl can be refrigerated for at least 4 hours or overnight to cool and develop flavors. Though really, if you can cool this quickly over ice, you can spin it into ice cream right away.
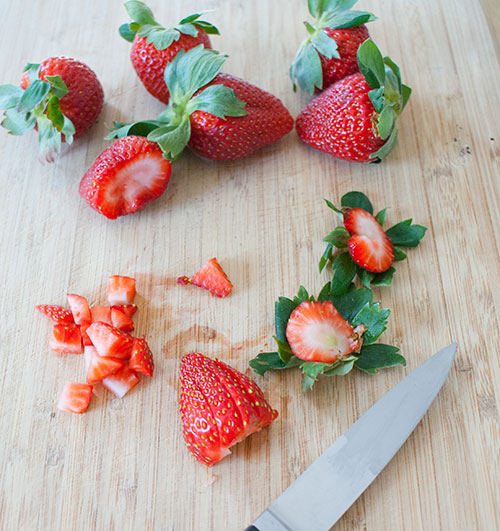
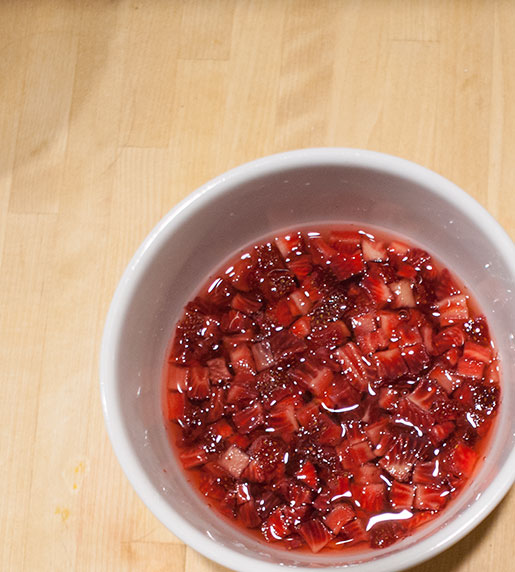
Meanwhile, let’s dice up 6 or 7 strawberries.
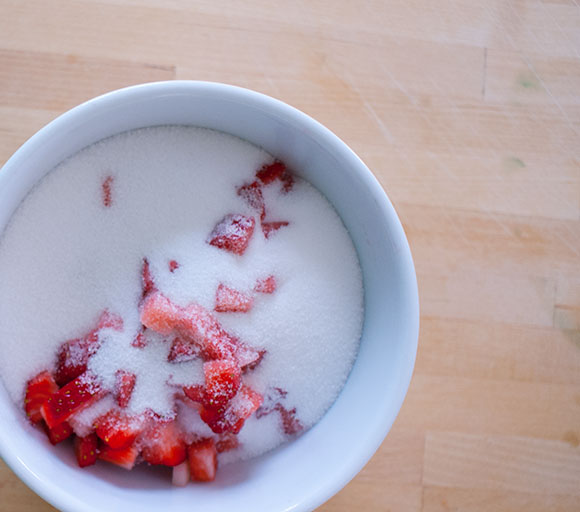
Throw some sugar on those babes. Stir. Cover and refrigerate for at least 4 hours, but overnight is better. They’ll release more juice.
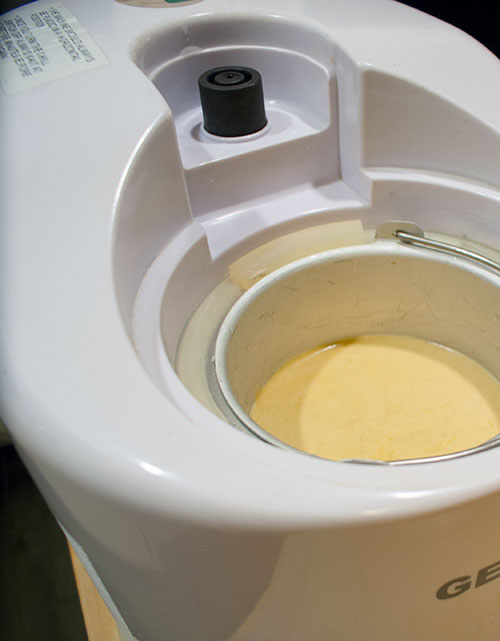
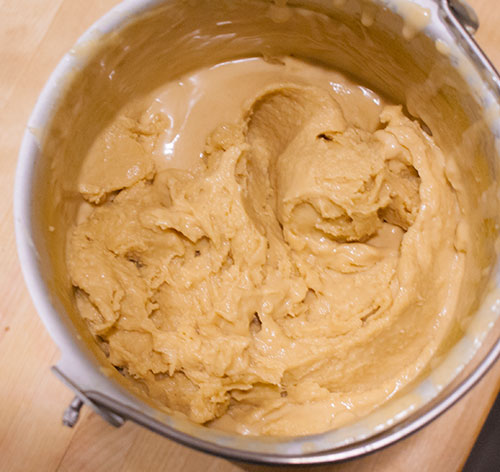
Ok. Magically, it’s later. We pour the base into our favorite ice cream maker. Freeze according to the manufacturer’s instructions. Just like I don’t much follow times with an oven, I also don’t follow times with an ice cream maker. It depends on what kind of base you have, what temperature it was to begin with when you poured it in, etc. I let it go long enough to get a soft serve consistency. Don’t let it go till it’s very firm or you might “overspin”, where the mixture starts to separate. You will know this happened to you if you end up with a grainy textured ice cream.
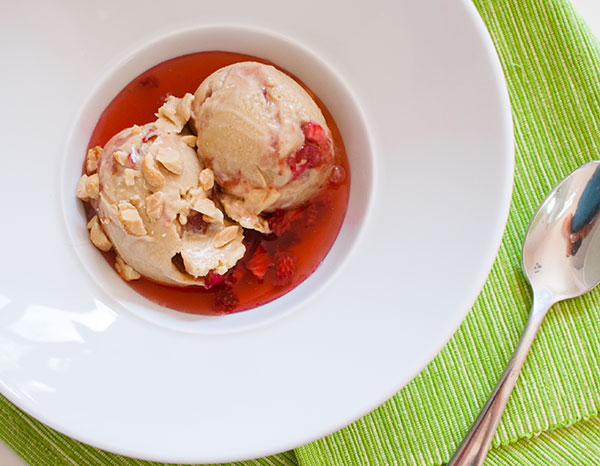
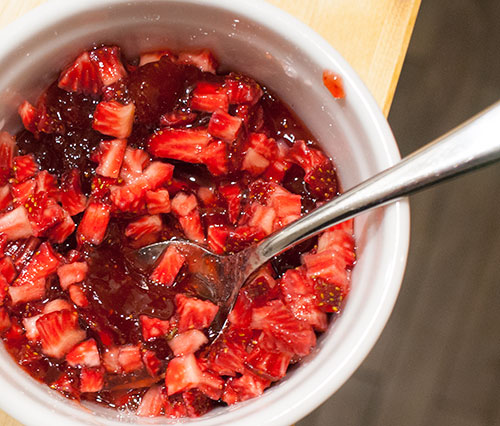
While that’s working, let’s get our strawberry add-in ready. Drain these out and save the juices. You can pour this over the ice cream! It’ll make you all shook up!
Stir the strawberries into the jam.
About 35 minutes later, I have this.
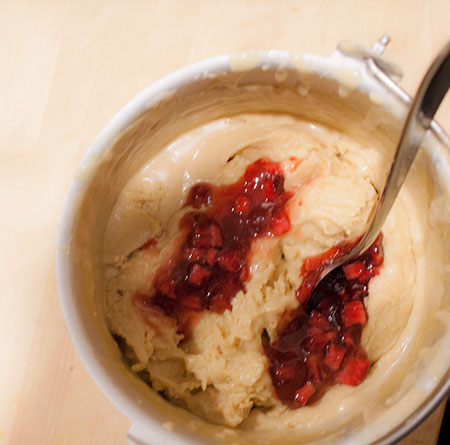
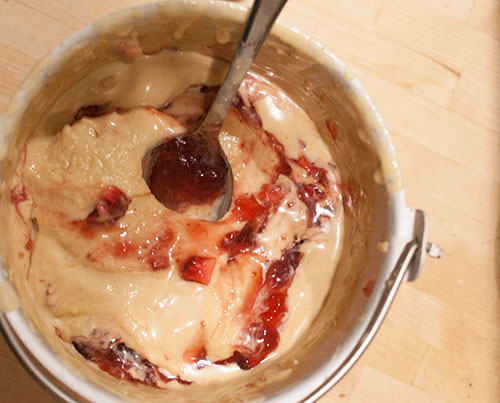
Working quickly, throw on a couple of dollops of jam. Do a couple of swirls, almost pushing the jam into the ice cream. Dig into the bottom and try to dredge it to the top. Add another dollop or two and work it in to the naked areas. Make each stir deliberate and try to refrain from doing a lot of shallow stirs or you’ll just end up with a murky, stirred up, homogenous mix.
Here we go! Wrap this tightly with plastic wrap and freeze till it hardens, at least 4 hours, as I like to say.
You ain’t nutting but a houndog!
Peanut Butter and Jelly Ice Cream
I like to include fresh strawberries in the jam for that freshy burst. You don’t necessarily have to.
Makes about 1 quart.
For the ice cream:
2 cups heavy cream
1 cup whole milk
3/4 cups granulated sugar
8 large egg yolks, ready and waiting in a large bowl
1/2 cup peanut butter
For the jelly:
about 1 cup strawberries
1/3 cup granulated sugar
about 1/3 cup strawberry jam
chopped peanuts for garnish
1. First things first: In a medium pot go the milk, cream, and then (this is important), only about 2/3 of the sugar. You can be rough in your approximation. The reason I do it this way is because it doesn’t have to be exact. I just want to save some for the yolks. It all ends up in the same pot in the end. Set the remaining sugar aside for the moment.
2. Dump in the peanut butter and boil that jazz over high heat. The peanut butter will be easier to stir up as the high heat melts it. Don’t walk away though. Pots with cream have a nasty tendency to boil over.
3. Once the pot has boiled, pour the sugar into the bowl with the yolks. Not sooner, because sugar and yolks sitting together for too long makes for some dried out yolks.
4. Now let’s “temper” the milk into the yolks. All while whisking, slooooowly stream the hot milk mixture into the yolks. We don’t want the shocking heat of the milk to scramble up the yolks.
5. Return everything to the same pot, and over low-medium heat, thicken the mix. Stir the entire time with a wooden spoon or a heatproof spatula, especially concentrating on the bottom and edges of the pot, so the eggs don’t stick and burn. After about 5-10 minutes, the whole shebang will get thick enough to coat a spoon, where a drawn line will hold its shape. That’s when you know it’s done. Don’t dawdle here. The residual heat will keep everything still cooking, and there is still a chance of the eggs scrambling up.
6. Pour everything through a fine-mesh strainer into a storage bowl or container. Since the mixture will be a little thick, you’ll likely have to coax it with a spatula through the mesh. This bowl can be refrigerated for at least 4 hours or overnight to cool and develop flavors. Though really, if you can cool this quickly over ice, you can spin it into ice cream right away.
7. Meanwhile, let’s dice up 6 or 7 strawberries. Throw some sugar on those babes. Stir. Cover and refrigerate for at least 4 hours, but overnight is better. They’ll release more juice.
8. The following day, pour the base into our favorite ice cream maker. Freeze according to the manufacturer’s instructions. Just like I don’t much follow times with an oven, I also don’t follow times with an ice cream maker. It depends on what kind of base you have, what temperature it was to begin with when you poured it in, etc. I let it go long enough to get a soft serve consistency. Don’t let it go till it’s very firm or you might “overspin”, where the mixture starts to separate. You will know this happened to you if you end up with a grainy textured ice cream.
9. While that’s working, let’s get our strawberry add-in ready. Drain the strawberries out and save the juices. You can pour this over the ice cream! Stir the strawberries into the jam.
10. When the ice cream base is ready, working quickly, throw on a couple of dollops of jam. Do a couple of swirls, almost pushing the jam into the ice cream. Dig into the bottom and try to dredge it to the top. Add another dollop or two and work it in to the naked areas. Make each stir deliberate and try to refrain from doing a lot of shallow stirs or you’ll just end up with a murky, stirred up, homogenous mix.
11. Wrap this tightly with plastic wrap and freeze till it hardens, at least 4 hours, as I like to say.
8 Responses to “Peanut Butter and Jelly Ice Cream”
Post a Comment
Your E-Mail will be kept private. * = required fields.





Eat your breakfast as ice cream.
I love it!
Great idea. Why not throw some poundcake crouton on there, and make it like a true sandwich. Ha!
Love your Piggie Cake, by the way.
So glad you’re back! I love, love, love your blog!
This looks delish! Thanks for sharing! So nice to see you back! Love your blog!
I thought my eyes were playing a trick on me when I saw the notification email from PastryPal! Glad to see you back!
Mrs Ergül! How lovely to see you still here!
Yes I am! I check back here every once in a while to see if you have written new posts 😉 Glad to see you finally did!
So Happy to see your post again. Thank you for yummy recipes and nice pictures.;-)